

Do you know that making good espresso is an art within itself? Latte art refers to the shapes made in the foam topping espresso drinks. If you’re a coffee-lover, you probably know the joy of having your regular fix, especially in the mornings. Since plenty of parameters affect how much you get to enjoy your coffee, most people consider a nice shot of espresso as something to liven up their spirits.
Making the perfect latte art is akin to beginning an exercise routine. Sometimes, things may start a bit awkward, but you’re guaranteed modest progress if you hang in there. With consistency, you will be able to draw beautiful art in no time. Here are some tips to get you started.

1. Choose the Right Type of Milk
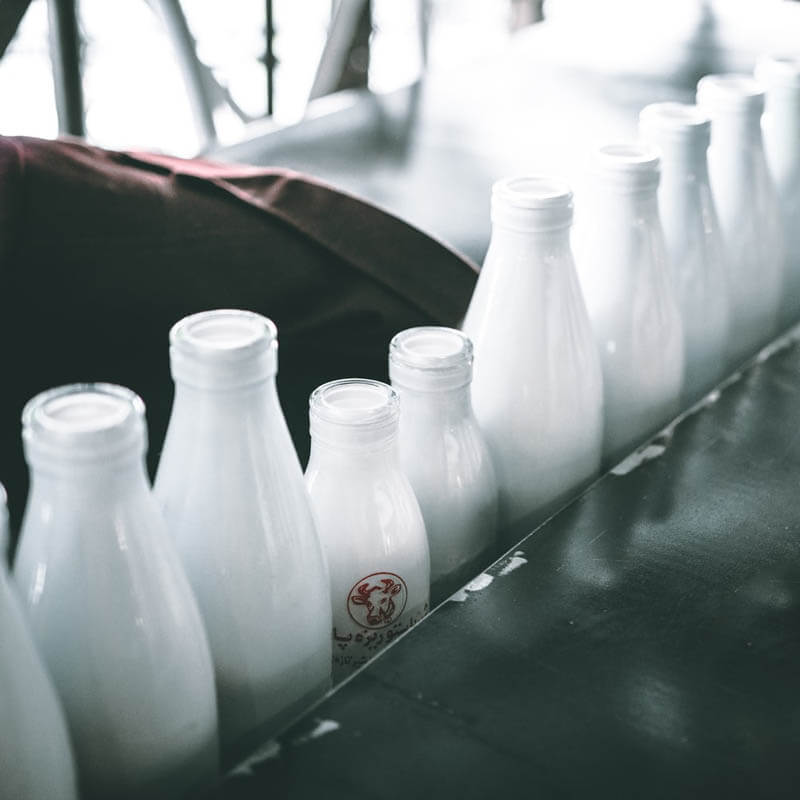
Choosing the best milk has an impact on the amount of foam and creaminess of the milk. Many coffee lovers try using dairy alternatives. However, using non-dairy milk will have a big difference to the end product. According to coffee aficionados from NomadCoffeeClub.com, using whole milk is the best option. This is because it allows you to have a full and thick foam and low-fat. However, skimmed milk results in more foam with larger bubbles. If you want optimal milk foam, we recommend using whole or semi-skimmed milk with a refrigerated temperature of about 3-6 degrees Celsius.
2. Does the Steam Milk Resemble Wet Paint?
While this seems obvious, you should focus on steaming good milk first. This sets you up for something good and also ensures that your drink tastes better. Avoid adding too much air as you will end up with thick and foamy milk. What about too little air? Again, you will end up with no texture. How hot is too hot? The results are less sweet milk. While this is a lot to keep in mind, you should focus on finding the perfect balance. You should know that a similar milk texture resembles wet paint from top to bottom. This means it has some texture and slight movement. If you add too much air or fail to mix correctly, this gives you a firm layering of foam on top and thin hot milk on the bottom. This is not conducive to making patterns.
3. Your Milk Frother Plays a Critical Role
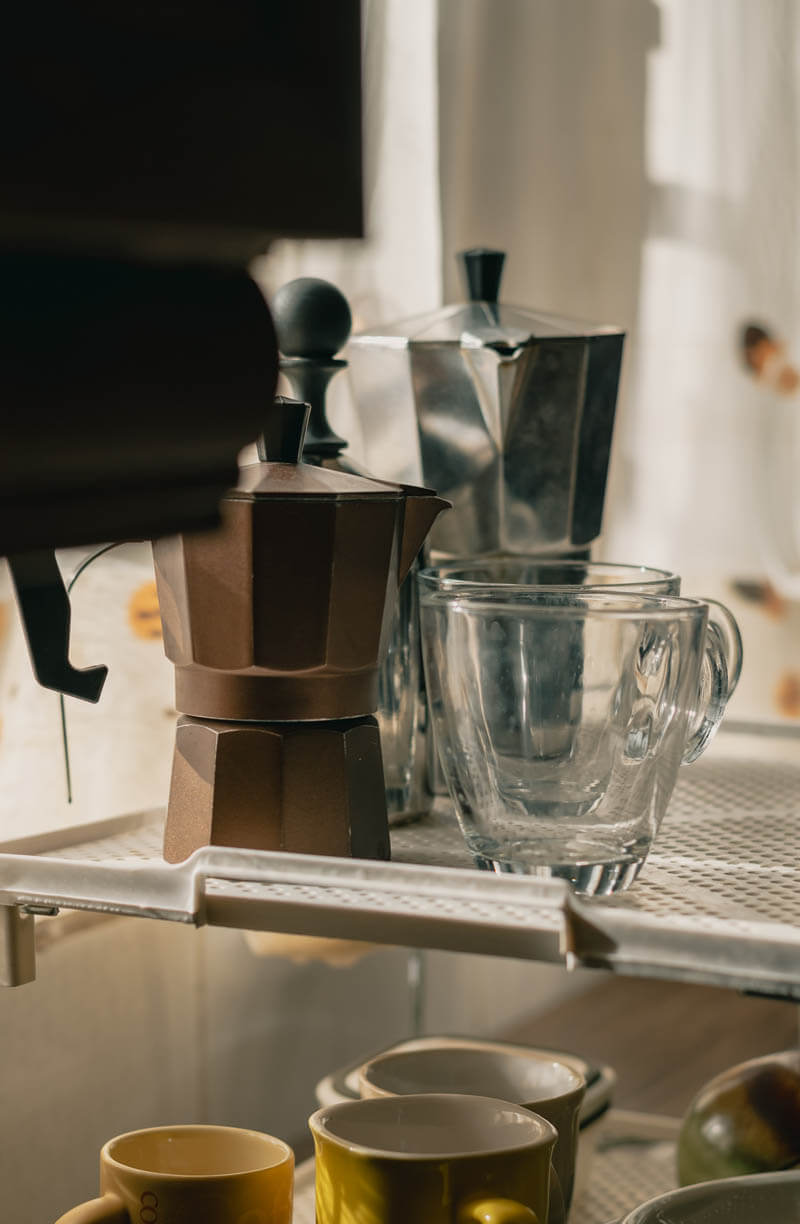
There’s a variety of milk frothers in the market. You should go for an integrated milk wand, especially if you’re an experienced latte barista. However, we recommend starting with a simple and high-quality machine. A good example is the Aeroccino3 milk frother since it makes it possible to be your expert barista at the touch of a button. Additionally, you can also create light and hot milk foam for your latte. If you’re a seasoned coffee lover, you can also use it to make light and creamy cold milk if you’re creating iced coffee.
4. Have a Blank Canvas at Each Step
Having a clean and even surface to pour onto can make everything look great. We recommend mixing your espresso before pouring to mix the crema, air bubbles, and speckling. This gives you a blank espresso canvas to pour onto with all the same texture and color together. Additionally, before you pour the pitcher down to create your design, ensure you’ve mixed the espresso and milk evenly. When you’re starting, focus on pouring into the center of your espresso. This pushes your design down, slightly towards the edge of the cup. If you start too close to the cup’s sides, this causes milk to shoot around the edges and break the crema.
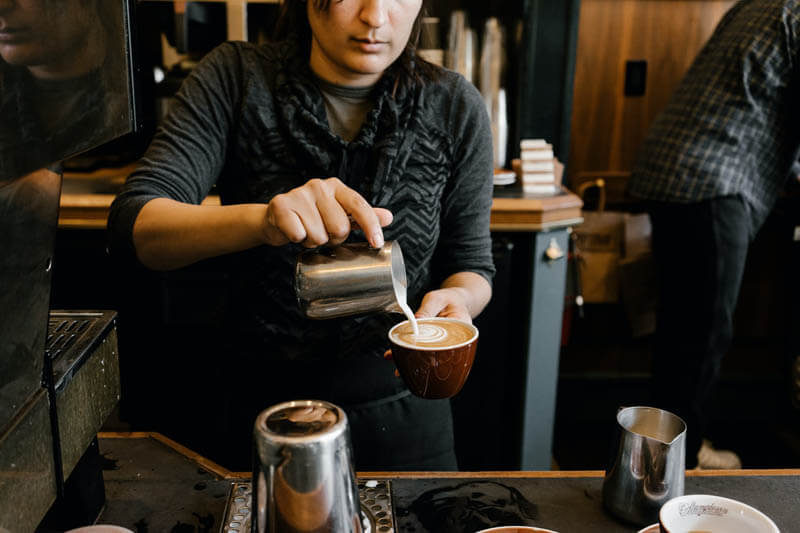
5. How Does One Pour the Milk for Latte Art?
It would be best if you start by pouring a little high. It helps if you know the design you’re trying to pour ahead of time. Once the mug is half-full, lower the jug to make the foam appear. Pour at a moderate speed while holding your latte mug at an angle. Avoid pouring too fast as the crema will come apart. Additionally, pouring too slow means the foam gets left behind.
6. Different Latte Art Patterns
There are many patterns and images you can try. If you’re not a seasoned barista, start small with simple designs. We should say that not all your attempts will work, but it will yield good results with consistent practice. If you’re a newbie, start with simple patterns like a heart, etch spiral, Rosetta, and a teddy bear.

You’re now ready to make some coffee art. However, it takes time and practice to master the craft of pouring latte art. If you are looking to take your creativity a note higher, you can also consider decorating the design with stencils, powder, and milk foam. We recommend leaving your latte art as it is, but you’re not limited, so go ahead and try out anything.