

Most of you keep your Mac files perfectly organized in named folders. This folder structuring helps you access your files quickly on your Mac. However, sometimes you can’t locate a file in its correct folder. The reasons could be many. For instance, you could have unknowingly hidden the file, moved the file to some other folder, shifted the file to an external storage medium, or accidentally trashed the file. This post guides you to search the lost file on your Mac easily.
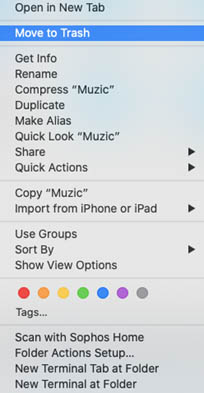
Search Hidden Files on Mac
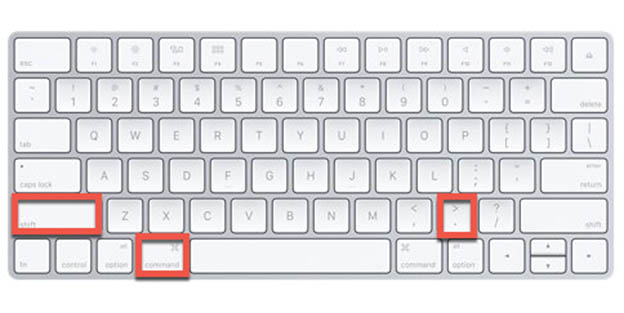
If you know where the lost file was once located, navigate to the folder using Finder. Next, press the Command + Shift + Dot hotkey. If any file is hidden, it will appear immediately. Still, if you are unable to find your file, then don’t worry. Try our next method.
Mac Find File
Click on the search box present on the top-right corner of the Finder window. Type the name of the file that is missing from your Mac. By default, This Mac is in the selected state. Finder will show the file instantly if it is stored on your Mac storage drive. Alternatively, press Command + Spacebar to launch the Spotlight app. Now, enter the name of the missing file(s) or the folder(s). Hit Enter and evaluate the results shared by the Spotlight.

Advanced Search
When you don’t remember the name of the file, you can perform an advanced search. Click the + sign below the search box, click the first list, and select a search attribute (for example, Kind). Next, click the second list and choose a second (say Image). Finally, click the third list and opt for the relevant attribute (say JPEG). Finder will list all the files that match the criteria. Find your file.

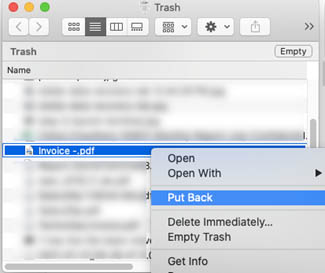
Search File in Trash
The best way to look for your lost or deleted file is to open the Trash folder and browse the deleted items. Chances are, the lost file might be lurking somewhere in the Trash folder for you to restore. If there are many deleted files, you can type the file’s name in the search box and click the “Trash” text besides Search. Finder will search and show the file inside Trash.
Learn more How to Recover Data Emptied from the Trash
Mac Terminal Find File
Those who are good at working with the command line interface can make use of the Terminal application. Navigate to Finder > Applications > Utilities > Terminal to launch the Terminal app. In the command line, type sudo find / -name “S&L.jpg” -print, then hit Return. Enter the admin password and hit Return. The terminal will find the file. Navigate to the path to access the file.
Search File in Time Machine
When you have set up a Time Machine external storage drive and have taken a backup of your Mac, you can use Time Machine to search for the lost file.
- First, connect the Time Machine drive on your Mac if it is not connected.
- Next, open Finder and navigate to the folder where the lost file was once present.
- From the Menu bar, click Time Machine > Enter Time Machine.
- Next, search the lost file using TimeLine or Up/Down arrows.
- Finally, select the file and click Restore. You’ll get back your lost file.

Recover Lost Files on Mac
Probably, all the above methods didn’t work in your case. Don’t worry! Download and install Stellar Data Recovery Free Edition for Mac software. Launch it and select the type of file you lost and the drive location where it was stored. Scan the desired volume. Search for the deleted file, and once found, select it and click Restore. Save the file on a distinct drive location.
Final Thoughts
We’ve covered a variety of methods to search a lost file on Mac. And even after trying all the troubleshooting methods, you must have deleted the file permanently if you can’t locate your lost file. So, use a Mac file recovery software to recover the lost file from your Mac drive.