

When you discover the delights of oil paints, you’ll be able to take your creative adventure to the next level. These artistic treasures can help you reach new heights in your creativity. Oils, as the next instrument of choice for both beginners and professional artists, will help you to expand your creativity while creating amazing oil paintings.
Oil paints are not intimidating to beginners because they have been a popular choice for painters for ages. They produce delicate and lovely effects, and the paint itself is so versatile with so many ways to employ it that the possibilities are unlimited.
Oil paints have been used by artists for hundreds of years, and their adaptability, quality, and color make them a favorite choice for artists all over the world. Painting with oil paints is quite simple, it does need a little more effort than with acrylics because you are working with dangerous solvents and media, and the drying period is considerably longer. Individual painters with a long history of painting have their preferences for brands, brushes, palettes, and materials, but if you’re just getting started with oil paints, here are some fundamental guidelines.
Comprehension of oil paints
You should learn the ins and outs of this beautiful instrument before you begin your oil painting adventure so that you can comprehend how it looks, texture and movement so you can use it properly. Learning the finest practice of oil painting technology enables you to make full use of your artistic capabilities. You will gain an understanding of the composition of the oil paint when utilizing it.
So, what is the oil paint exactly? In contrast to its quick-drying acrylic companion, oil paint is a slow-drying paint with pigment, binder, and solvent particles. The color is derived from the pigment and the binder is usually linseed oil, although other oils including sunflower, poppy, soybean, and walnut oils may be used. The solvent, commonly turpentine or white, is applied to modify the thickness of the paint according to the preferences of the artist.
An acclaimed feature of oil paint is that it can be brilliantly mixed to make a range of tones and colors and to create fine details and hues.
Oil Paints tips and tricks
Whatever your artistic aptitude is, working with oil paints is a unique approach to unwrap the layers of your artistic creativity and grow your enthusiasm and talents even far beyond your imagination.
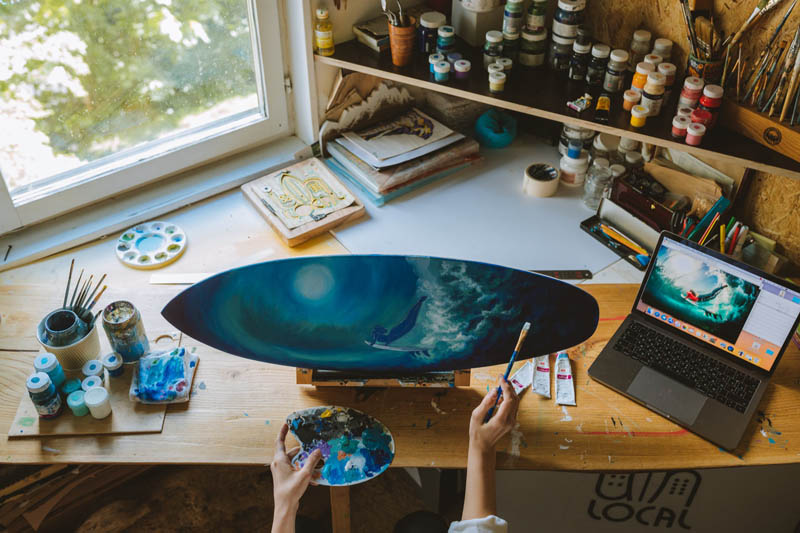
The unique variety of oil paints makes it the suitable paint for different styles and may open a wide range of surfaces that may create your art. Many people link oil paintings to canvas, however, the oil may be used on a variety of media such as linen, paper, wood, and even metals like copper and aluminum.
Now that you know the characteristics of oil painting, it’s time to learn the methods. It’s an exciting phase of your creative journey for novices.
- Although a large number of oil painting methods exist, many common favorites include layers that entail the layers and are painted repeatedly to create an attractive effect. Be careful to wait until each layer is dry before applying the next coat
- Another wonderful idea is to start light with your colors and applications, then apply thicker and deeper tones with each layer.
- Impasto is an outstanding method for applying thick paint layers to generate a three-dimensional look. This approach can bring your painting to life and use a palette knife to make the paint stand from the surface. This method works particularly well for a painting influenced by baroque or abstract art.
- When you start to paint with oils the most crucial thing you need to know is that you cannot combine oil paint with water since they oppose one other. You should use a solvent like Turpentine or Zest instead of painting with water. You should wipe your brushes with solvent too.
- Painting tiny provides you the opportunity to test methods and color experiments without spending too much time or resources on the process. Some little 8×10 inch canvases or canvas boards can be purchased or you can even try oils on paper.
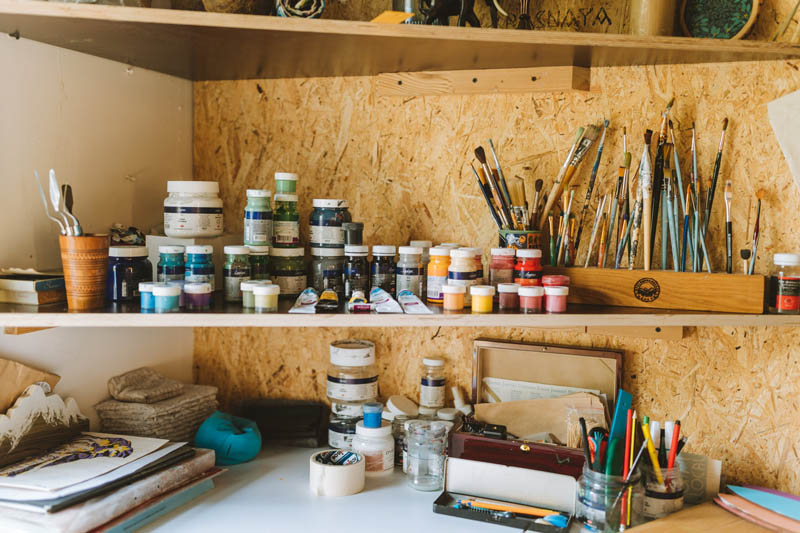
- Make room available in a well-ventilated place where your pallets and supplies can be kept and ready and your paintings visible. This allows you to look and think about your work, even if you’re not actively painting. It also facilitates the painting process so that you are motivated to paint even more frequently, if feasible every day. If you paint a lot, your work will improve quickly. This is the way art is made.
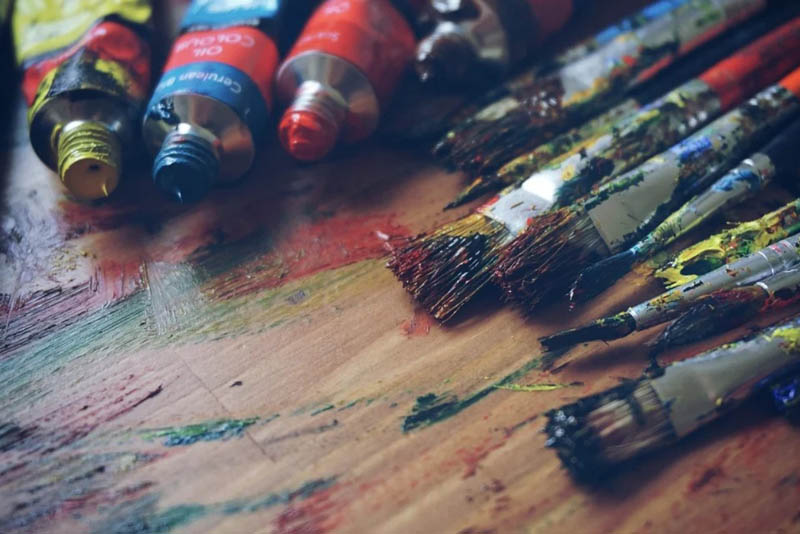
- Purchase professional paints if you can afford them. The professional-grade has a higher pigment/binding ratio. Purchase simply a few brushes of superior quality—three various sizes will begin well. You can buy more and play with the various forms while painting more. You can use synthetic brushes developed for oil acrylic paints, but you can also use a range of natural hair brushes with oil. The most usually used are bristle brushes.
- You can paint on many different surfaces—canvas, wood, paper, but whatever you select, it is important to apply a type of primer named gesso on the paint surface, so that the oil is not penetrated the surface, protects the surface from the acids on the paint and makes it easier to stick to the paint. You can also use pre-printed boards or linen and add another layer or two of gesso to your linen if you want a smoother surface.
- Primary paint colors are not “pure,” but tend towards yellow or blue, which makes them warm when they turn towards yellow or cold when they turn towards blue. This affects the combination of the main colors to generate the secondary colors.
- Don’t feel that all the colors in your painting must be used at once. Begin with a monochromatic painting, a single hue painting plus the shades (black added) and tints (white added). You can use any color, whether chilly or warm paint. When ready, add a warm cold primary color with earth tones such as burnt sienna, burned umber, and yellow ochre to your palette.
- Paint thick over thin. This implies that the early layers use thinner paint and less oil to save thicker paint and higher oil content for subsequent layers. This ensures that previous coats are dry first and helps to prevent cracks in your paint. Start with a painting underpainted with turpentine, then shift to a print medium in a ratio of 2:1 for a mix of turpentine and lens oil. Linseed oil can be turned yellow with time but dry faster than other oils.
- When finishing the painting, it is vital to clean your brush between the colors and with soap and water. Oil painting might grow chaotic. Have towels and rags nearby to wash off your brushes with extra paint and turpentine. During painting, you must have two containers – one for turpentine to clean your brush between colors and one for medium to combine with your paint.
- If consumed or absorbed in the skin, oil paints and media are hazardous. Keep them away from pets and small children and out of reach. Dispose appropriately and you should moisten or soak rags in water and paper before discharging because it is combustible and can heat up and occasionally burn spontaneously.
Final Words
So in this article we have mentioned the best way to use oil paints we hope this article will help in using oil paints.
If you like this article, feel free to share it with your friends and family members who are finding difficulty in using oil paint.