Selling a property is a lot easier when you have great photos helping you attract potential buyers. Not only will you get more people interested in the property, but you can also highlight the property’s best features using a set of well-captured photos.
The process starts with taking great photos, and the fact that this is something you can do yourself makes everything better. To take great photos of your real estate, here are the top photography tips and tricks you need to know.
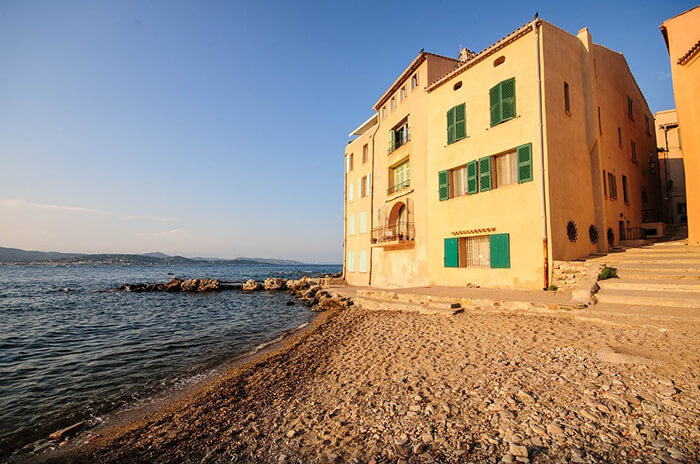
The Golden Hours
The best times to take pictures of real estate, especially the exterior of the property, is at dawn or at dusk. The dawn is followed by a few hours of what is known in photography as the golden hours; on the other hand, you have a few hours before dusk too.
The golden hours are hours when the sun is at the right angle. It is the hours when you have the best natural light to work with, allowing you to shoot inside and outside the property and get great results. The pleasing light during these hours is soft and produces the most flattering results.
Watch Your Focus
When shooting using a DSLR or a mirrorless camera, you want to take extra care with your depth of field (the area in the photo where objects are tact-sharp and in focus). While a shallow depth of field (with blurry background) works great for portraits, it is not the approach to take when shooting real estate photos.
You want to make sure that everything – all the best elements you want to feature at least – is in focus. This usually means pairing a wide-angle lens with an aperture setting of f/4 and above. In some cases, you can go lower than f/4 and simply rely on the nature of wide-angle lenses to get everything really sharp.
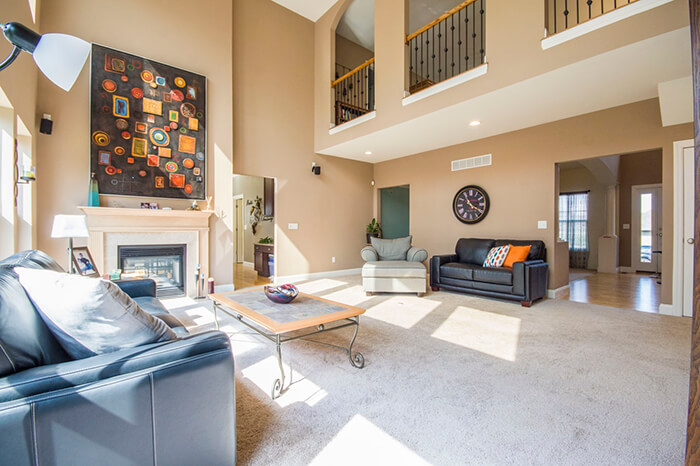
Show Dimension
While it is not recommended to use depth of field to add depth to your real estate photos, you can still use other tricks to achieve the same 3D feel. The easiest way to go is by combining foreground and background to highlight the dimension of the property or room you are shooting.
Take a look at the images of Water’s Edge, Cooper Creek, by Teskey Mediaworks and you will know what I mean. For the main shot of the property, a tree and front garden act as the foreground, while a line of trees and the sky further accentuate the structure as the main object of the photo.

Plan Your Shots
Last but not least, always take the time to plan your shots before the actual photoshoot. Walk around the property, find interesting points to highlight, and make a few changes if needed. When a room is too cluttered, for instance, you can remove some furniture or rearrange the room for a more spacious look.
With these tips in mind, taking great real estate photos is a walk in the park. You will end up with photos that make the property look appealing to potential buyers, which means you will get more responses when you do post the listing with great photos you successfully captured.