While there are a variety of damages and structural issues homeowners should concern themselves with, water damage may be one of the most pressing.
Water damage can occur due to poor insolation, high rain water levels, or a variety of other factors. It can lead to extensive damage to the home’s roof, structure, or cause other pressing issues such as mold which may result in health problems for you and others in your home.
In general, various types of water damage are insured by multiple kinds of policies.
As a rule, water leakage that originates from the top, such as precipitation and burst sprinklers, is secured by standard homeowner insurance. Commonly, the water damage that arises from the base to upside, for example, a flooding stream, is secured by different flood insurance cover.
That’s why it’s not a good idea just to look for home insurance with the cheapest quote. You can always find competitive quotes from theaa.ie home insurance that will cover all the risk of different types of water damages.
We’ve put together a full list five steps to repair water damage in the home. Read the tips and consult water damage cleanup company if you need professional help.
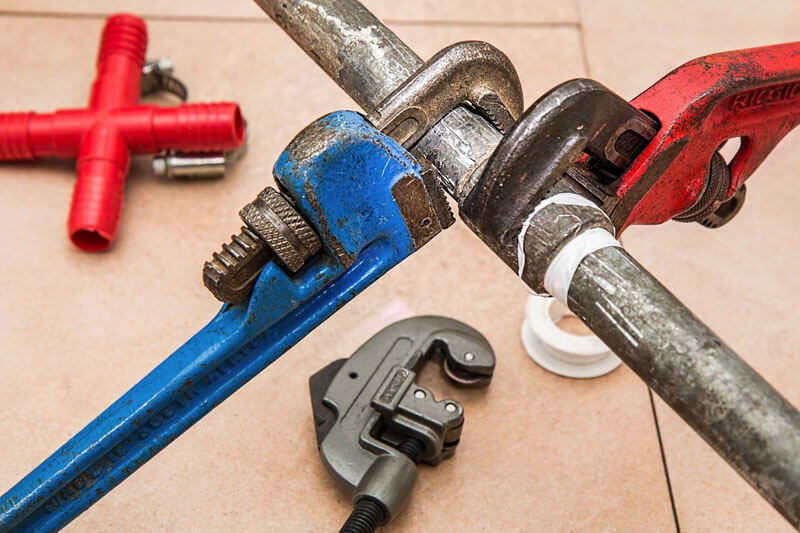
1.Stopping the water source
One of the first things you should do in the event of water damage is to find the source of the leak and attempt to patch it. Leaks can be from shoddy roofing, broken pipelines, or cracks in insolation or windows. You may need to do extensive repairs to these parts of the home if the damage has spread far.
Consider replacing older roofing tiles that may have allowed water to enter the home, or fixing or replacing older piping which may be causing leaks inside the foundation of your home. While you may be tempted to simply fix the damages to your home, you need to also take care of any leaks or entry points for water. Otherwise, your repairs won’t really matter as the damage will likely happen again.
2.Dry the effected area
Once you’ve located the source of the water leakage, you should get to work on drying the effected areas. Consider patting down effected areas with towels, setting up space heaters in the area, or using fans as well. Make sure to dry both the above and below of effected areas, as water can sit in these crevasses and cause further damage.
For wall water damage, consider setting up a bucket or another item that can collect dripping water. Then pierce the dry wall near the swollen section with a knife or screwdriver. Water should fall through this hole, alleviating the water damage.
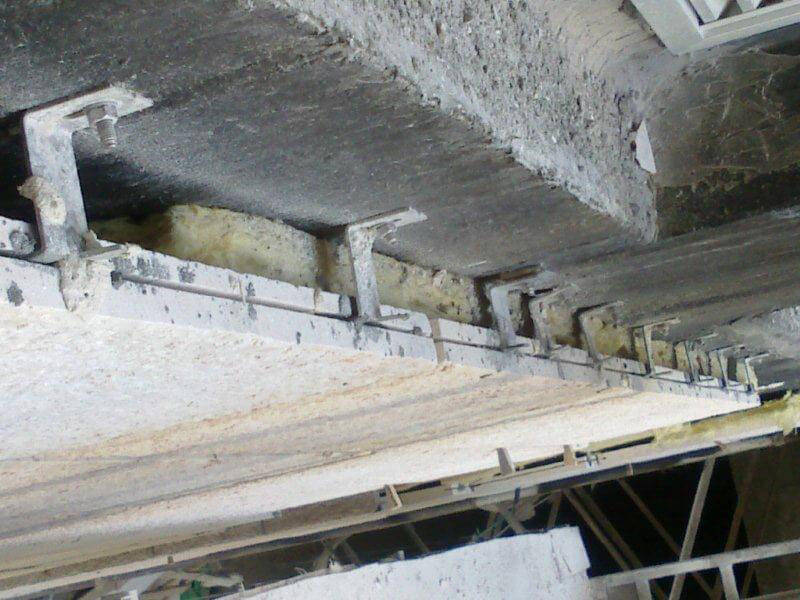
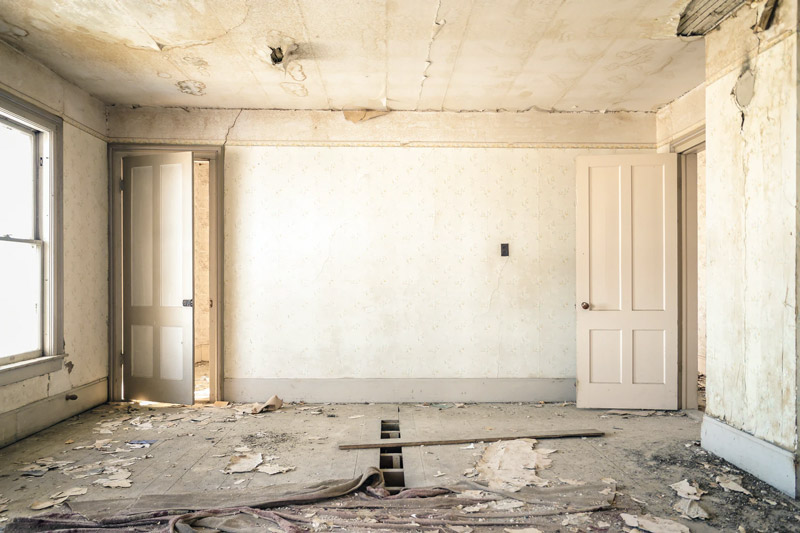
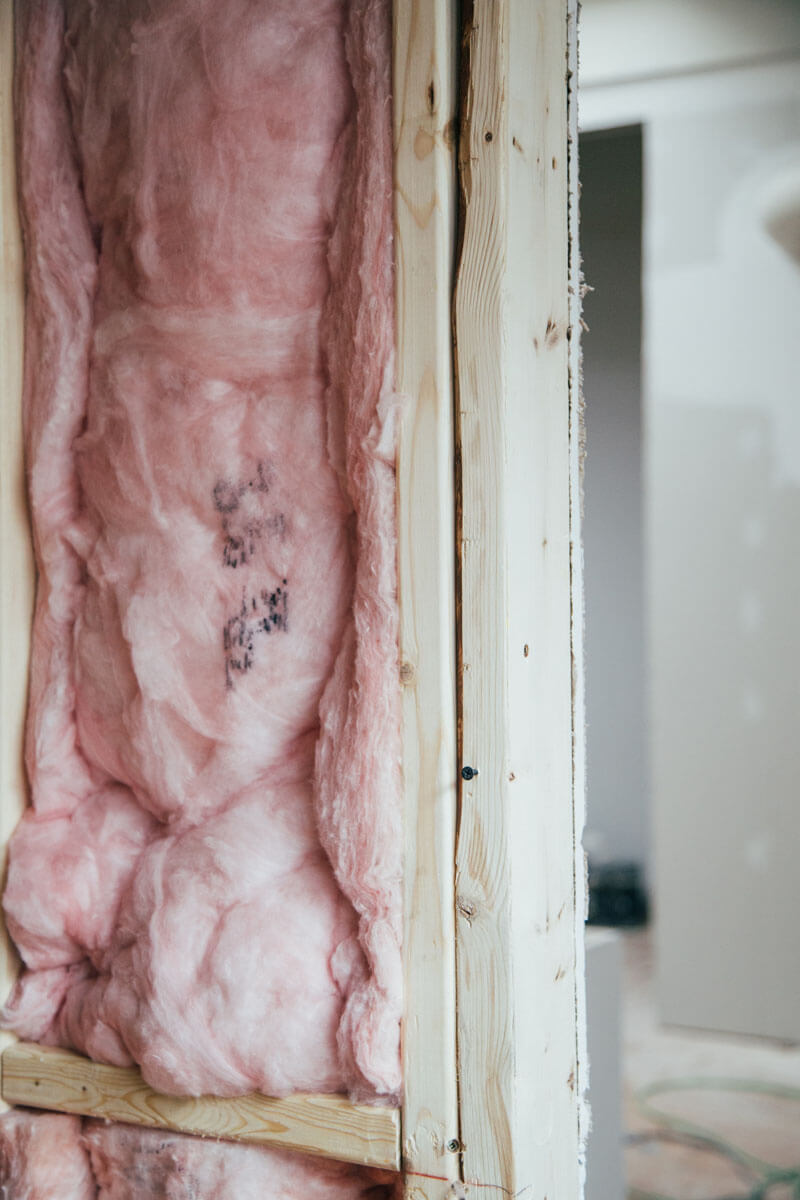
3.Removing damaged insolation and damaged parts of the ceiling
After you’ve located the source of the water and dried it to the best of your ability, you need to remove the damaged parts of the insolation as well as the ceiling. A putty knife will be a sufficient tool for cutting out any affected sections of the ceiling. For insolation, it is recommended that damaged insolation is pulled from the wall. Be sure to use gloves in order to prevent itching from the microfibres of the insolation. Once you’ve cleared the damaged areas of the home, you’re ready to continue with the rest of the process for fixing the water damage in your home.
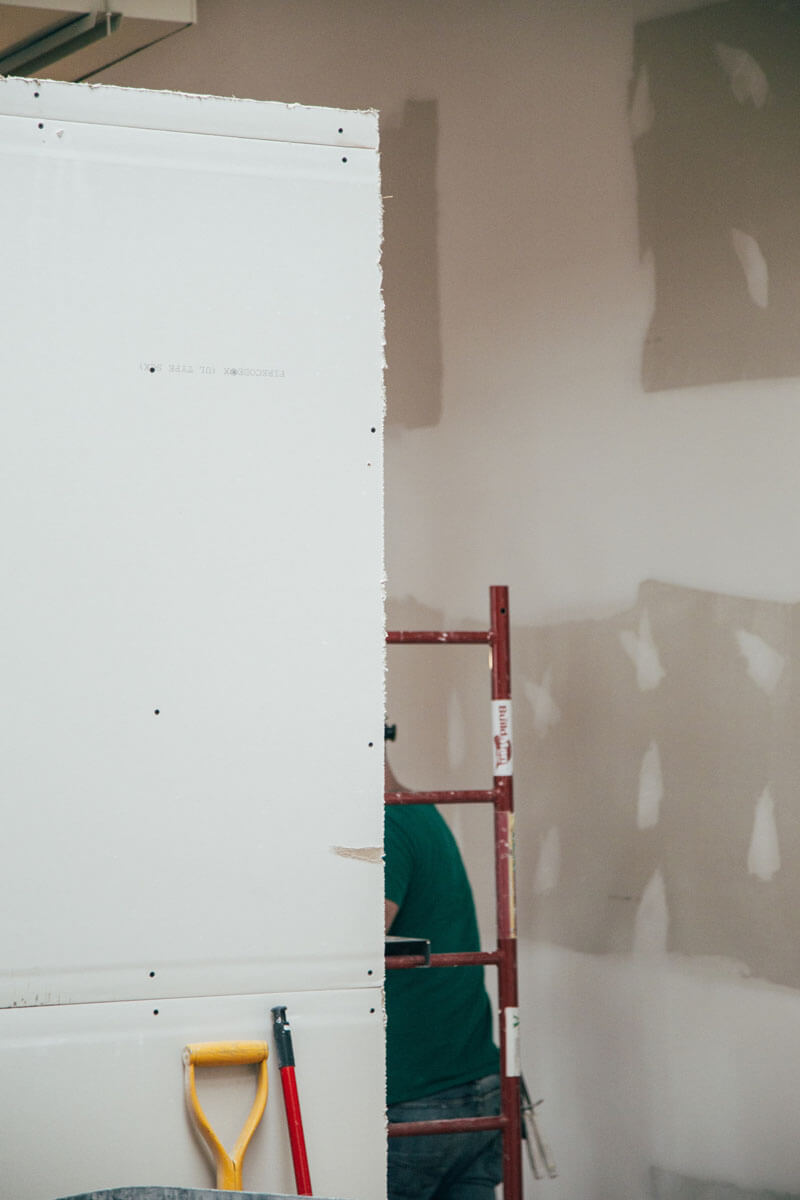
4.Preparing the surface for repairs
Once you’ve removed the damaged section of the home, it’s time to begin repairing the water damage! Consider using sandpaper to smooth the ridges of the walls or ceiling that maty have been affected by the damage. Use proper PPE protection like a mask or eye goggles, as dust from these textiles can be hazardous to your health. After these areas have been sanded down, consider filling any smaller holes in the walls with plaster, doing as many coats as necessary.
For larger holes, you may need to fully replace the drywall or plaster with a fresh sheet in order to prevent further damage. Once you’ve done all this and removed any additional bumps in the wall with sandpaper; you’re ready to make your repairs look good!
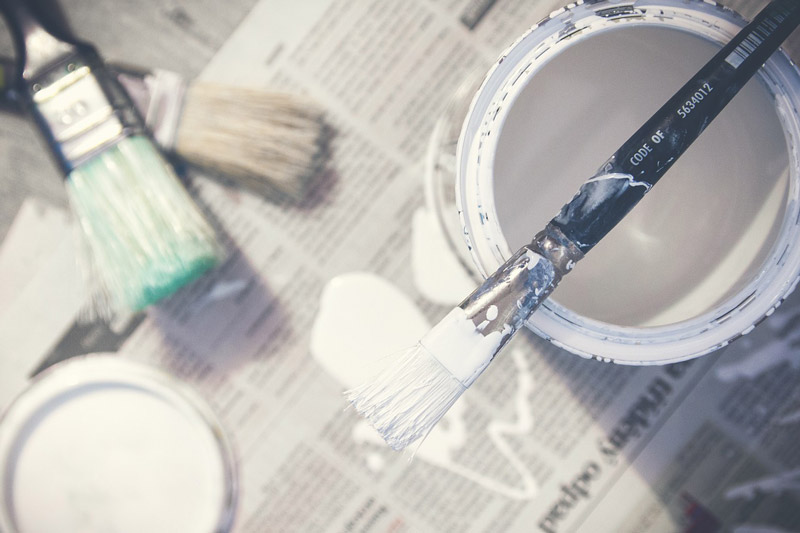
5.Priming and painting
Now that you’ve gone and fixed the majority of the damage from the water leakage, you need to do something about any visible staining! Apply a coating of primer to any stains on both the ceilings and walls, as this will help cover them. Once the primer dries, apply a secondary coating if you feel it’s necessary. Be sure to note that if you don’t do a second coating and skip directly to painting, the stains may still show through the fresh coat of paint. Once you’re satisfied with your coatings of primer, it’s time to paint!
Consider using a neutral or heavy colour, as this is more likely to cover the stains left behind by the water damage. It is recommended to repaint the entire ceiling or walls, as this will make the painting of the room more consistent and overall looks better. Give the paint ample time to dry, then apply a secondary coating if you feel the stains are still showing through too heavily.
With these tips, you’re ready and prepared to tackle water damage if it occurs in your home. Be sure to keep an eye open for possible ways water can get into your home in the future as well, to prevent any further issues.