

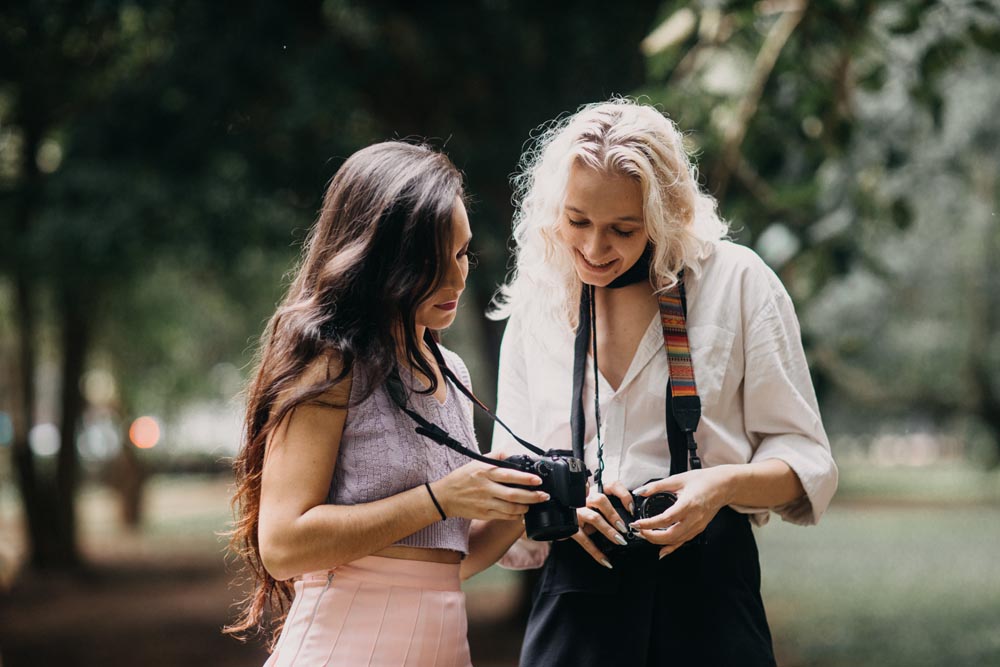
Want to perfect your photos to wow your clients or friends? We’re here to help you with it! In this post, you will find 6 steps to edit portraits to give them a truly professional look. No matter what programs you prefer, these tips can be put into practice with no effort – they will suit any photo editor and any level of skills. So why don’t we get started now?
1. Fix the composition
Composition is one of the key elements that make up a good portrait. Even if you retouch it perfectly, a bad composition will ruin the whole impression of your picture. It’s also a powerful tool that can make the portrait look special, so why not take advantage of it?
To change the composition, you will need to crop and rotate the image the right way. Most photo editors have built-in grids that can help you with proportions, but you can also search for common composition rules such as the rule of thirds. Besides, it is a good idea to crop or resize pictures to make them fit the screen you want, whether it’s for a mobile phone or a computer.
2. Set the white balance
For realistic tones, be sure to correct the white balance, unless you want the model to look like an alien. Not only does the setting affect other colors, but it also defines how warm or cool the portrait will appear. You can find WB or AWB in the camera settings, but if you didn’t adjust it before shooting, it is no problem – just fix the white balance in a photo editor.
3. Adjust the colors and tones
Color correction is what will help you create the desired effect or simply make the model look just like in real life. It’s one of the basic adjustments that you’ll find in almost every photo editing program. There are lots of ways to fix the tones, e.g. by dragging sliders, adjusting curves, using color replacement, and so on.
You can color correct the whole picture by, let’s say, reducing saturation, but you might also find it useful to change only specific areas or colors. Color correction doesn’t have any particular rules you need to follow – just experiment a little and you’ll find the right values.
4. Change Exposure, Highlights, and Shadows
These adjustments are very important to make if you want to give a professional look to your portrait. For instance, they will help you fix overexposure or make a dark photo brighter. If you take a photo of elderly people, it’s important to set the shadows right to make wrinkles less noticeable. What’s more, a picture with Shadows value set too high can make anyone look tired.
5. Retouch the model’s skin
Sometimes even the cleanest skin can look imperfect in a photo, so it always requires some editing. It’s a good idea to smooth the skin by reducing the Clarity, Sharpness, and Texture. But don’t adjust the whole image at once – retouch different parts separately. For instance, you can increase Contrast or Clarity in certain areas that you would like to emphasize, such as eyes or eyelashes.
6. Don’t over-edit your photos
In photo editing, it is important to know the limits – make sure you only fix what really matters and needs changes. Amateur photographers tend to go for too much retouching and the models end up looking like a plastic doll. Doesn’t sound like the result you want to achieve? Then make the natural look a priority while retouching a portrait.
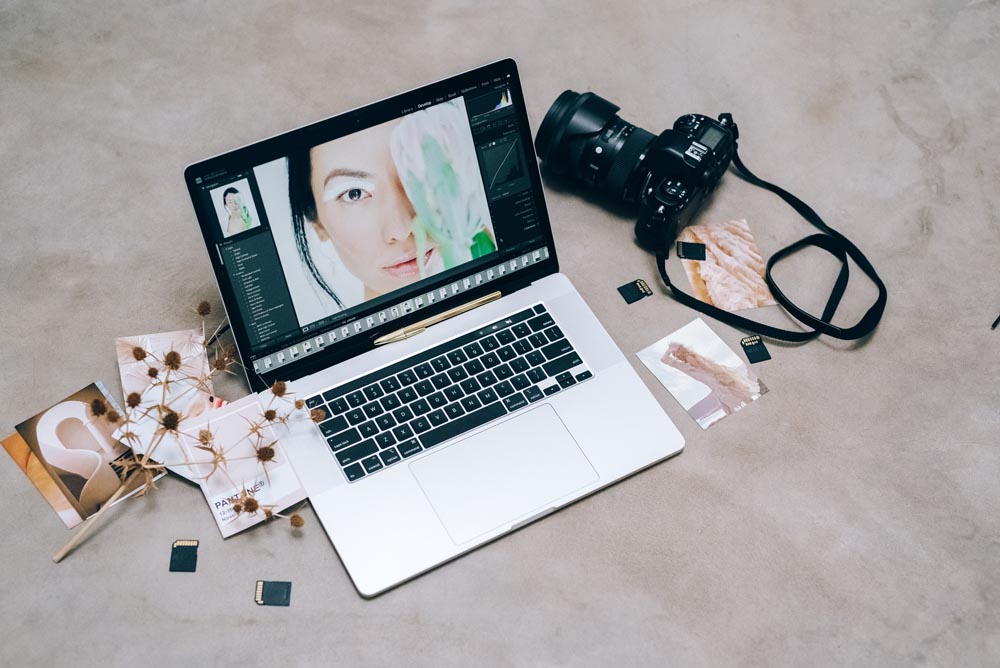
Don’t know what program to use to edit your portraits? No worries – there are lots of excellent options to choose from for any budget, e.g., Adobe Lightroom, Polarr, PhotoWorks, or PortraitPro. What if you’re a beginner photographer who is not ready to invest too much money, but free programs like GIMP seem intimidating and involve an exhausting learning curve?
Then we’re sure you’ll like PhotoDiva, an AI-powered photo editor for portrait retouching. It will only take you a couple of clicks to reshape the model’s body, remove their wrinkles, whiten the teeth, apply make-up, and even change the hair color. Now go ahead and make your portraits flawless!