

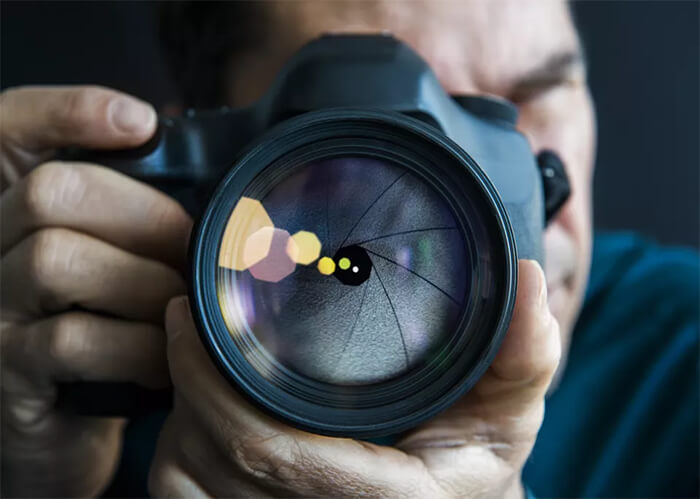
Post processing in photography is one of the critical components of getting a better image especially if you aim to make a name for yourself as a photographer. Photography editing, also called post-processing, plays a significant role in today’s photography society because nobody wants a mediocre photo that won’t be attractive to viewers. As a photographer, to take your work to the next level, you need to know some photo editing tips that can aid your photo post-processing to create a stunning photograph.
There are various photo editing apps out there that helps in post processing, apps like Photoshop, Lightroom, Adobe Camera Raw and so on. They also serve as photo editing tricks to professional, but without the adequate knowledge or skills on these photo editing tricks, you may find it difficult using the apps effectively.
Now let’s flip through the best 7 Photography editing tips.
Learn Camera and Lens Adjustment
Before engaging in any necessary adjustment, it is best to learn more about the camera and lens adjustment. This will let you know more about the calibration panel. It can be made more comfortable when you pay professional coursework writing service to solve an issue that will enable you to identify all necessary adjustments and settings that will aid the success of your post-processing. Note that the Calibration panel will include the Lens Correction Tab and the Enable Lens Profile Corrections Options.
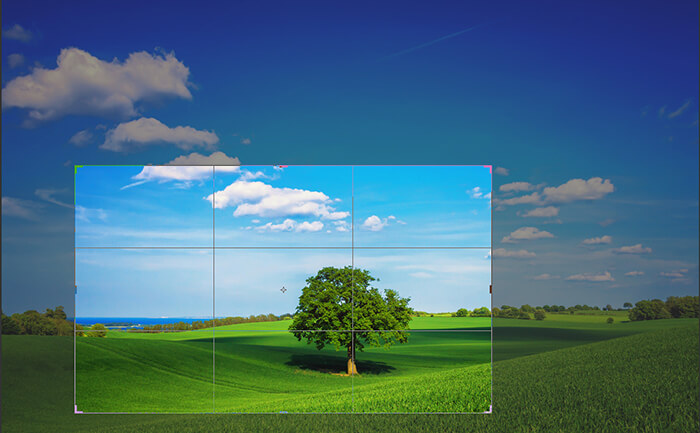
Cropping
Cropping a photo is removing an unwanted part of the picture at the sides and top/bottom such as a dark spot or an intrusion due to broad coverage. It can also be used to resize the image and reshape it as well by changing the aspect ratio, i.e., changing a square-shaped image to a rectangular one or vice versa. An image can be cropped for various reasons including to publish it in different formats and to extract the point of focus in a full shot image. To crop an image, all you need to do is select the crop tool and the area you want to keep with your mouse; apply the changes and save the new, cropped image.
Vignetting
This is the process through which part of an image is made lighter or darker than other components with the aim of highlighting the subject of the image. The vignetting range varies across applications; while some restrict it to image corners, others such as Lightroom allow the selective darkening and lightening of different parts of the image.
Shadows and highlights
When photographs are taken, some part of them might turn out brighter or darker than desired. These bright parts are referred to as HIGHLIGHTS while the dark areas are called SHADOWS. This anomaly can be fixed by altering the brightness of the highlight and shadow parts and can be done using the “highlight” or “shadow” tool depending on the software in use. This tip works well on RAW files, and it is useful in balancing image highlights and shadows. It also works well in bringing out important details of an image shot.
Excessive alteration of shadows and highlights can lead to unnatural purple or green coloration on the image. This phenomenon is referred to as noise in photography. (4 sentences)

Adjusting the contrast
This is simply the process of altering the difference between dark and light parts of a shot. It is used to improve image visual impact which is done by the distinction of the line between dark and light parts of the image.
Adjusting the Colors
Color adjustment is another photo editing tip which can make a massive difference to an image. It can be used to change the warmth of the image or the level of saturation and hue of specific colors in an image. A colorful image can become black and white after intense color adjustment. Color changes can significantly affect the level of impact of an image positively and negatively. The most common tool is the saturation tool. Care should be taken not to excessively or inadequately saturate an image; finding a knife edge point at which the color saturation is balanced is the best way.
Flaw removal
This is the removal of undesirable images components of an image. This can range from a pimple to a distinct object in the picture. The removed part is then replaced by an element which blends perfectly with the surrounding thus making it seem as if the removed object was never there. It is more effective when the component to be removed is surrounded by similarly colored features. The most effective tool for this is the “image healing” tool.
With these few photo editing tips mentioned, your photos will surely be the center of attention, and you will marvel at what you’ve done.