

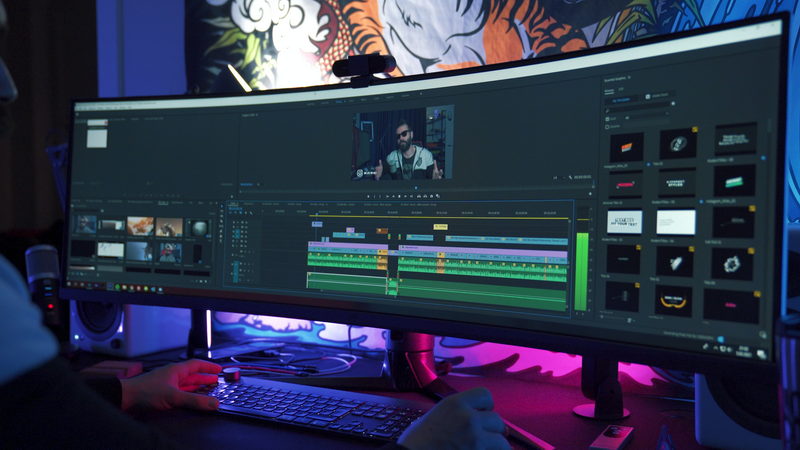
Are you ready to become the next YouTube star or Netflix creator? Adobe’s Premiere Pro video editing software can help you make those dreams come true. Even award-winning movies like Avatar, Gone Girl, and Deadpool were edited using Premiere Pro!
However, getting started can be a bit daunting. There are a ton of controls and functions to get to know if you want to edit at a professional level.
Don’t worry; making videos on Premiere Pro isn’t actually that hard, especially if you use After Effects templates and Premiere Pro templates (we’ll cover them more below). The basics of clicking, dragging, and dropping are all you need to create and edit a sequence.
But, with all the tools available to you in Premier Pro, you don’t want to limit yourself—even as a beginner. You need to develop good habits from the start to become a skilled editor.
In this post, we’ll acquaint you with some easy Premier Pro techniques you can use as a beginner to become a faster, more adept editor.

1. Get Organized
Nothing is worse than dealing with missing links and errors due to bad organizing in Premiere Pro. It derails the editing process and costs loads of time (and money).
You might be chomping at the bit to edit, but you need to get your files organized even before you open the Premiere Pro application.
Organize your folders systematically so you can access your content once you drop it into Premiere Pro. For basic videos, create a folder with the title project. Within that, add three subfolders for media, the premier, and the final. Within the media folder, create more subfolders for clips, sound, and graphics.
Now, all you have to do is drop the project folder into Premiere Pro’s projects panel and the application will populate the folders automatically.
2. Cut out the Fluff
A common problem is having hours of footage to sort through just to make a 5-minute video. How do you narrow down the best shots? You can do this by selecting the shots you like and getting rid of all the fluff. Once you’ve done this, you’ll only be left with the good stuff to sort through. This can eliminate 80% of your footage, making it a lot easier to put together a solid video quickly.
Here’s how to do it.
- Upload all of your folders with video footage.
- Start with the first folder. Watch your footage and make in-point cuts on the timeline when you see a section of footage you like.
- Drag the selected footage to another level on the timeline.
- Now, you have the “good” footage on one level and “fluff” on another. Highlight ONLY the video footage (not audio) from the “fluff” level and click “shift + delete.”
- Repeat this with the remaining folders.
Once you’ve completed this process, your folders will contain sequences of your best footage, which you can then pick and choose from as you edit. This will save you hours compared to cutting raw footage as you go.
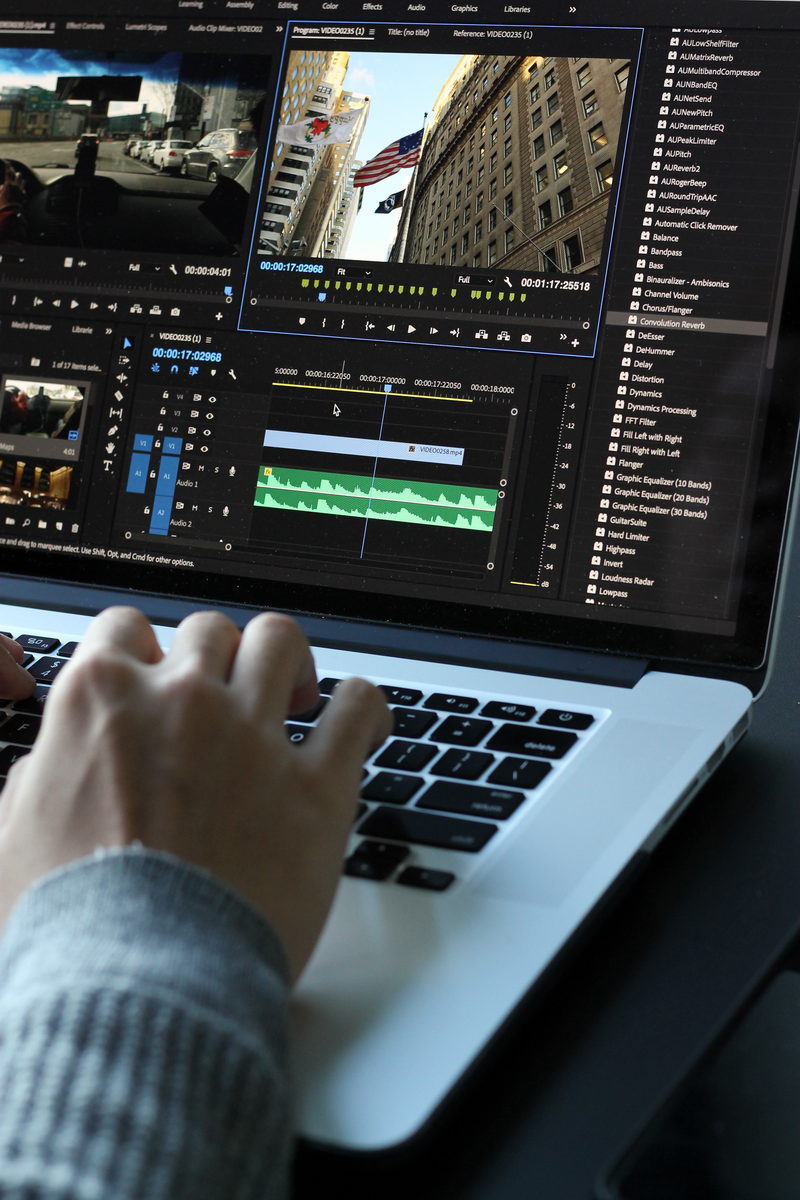
3. Know Your Tools
The only tool you really need to master as a Premiere Pro beginner is the blade tool. But that won’t help you become a great editor. Premiere Pro comes with loads of tools to make editing faster and easier, and it only takes a few minutes to learn to use them. Here are a few tools to learn right off the bat:
- Ripple Edit Tool: This tool closes the gap between cuts automatically, removing a step from the standard blade-cutting process.
- Slip Tool: The slip tool lets alter the timing of what appears in your footage without altering the length of the clip. You can use it to stretch shots by a few frames for a cleaner transition.
- Snap feature: This is an excellent feature for beginners. It ensures that every time you move a clip, it automatically aligns with an adjacent clip for a smooth transition.
4. Add Transitions
You don’t want every shot to end in a hard cut. Adding transitions is something you need to learn at the beginning of your Premier Pro journey.
First, try a cross dissolve. It’s the most common transition and the default transition on Premiere Pro. To do it, just highlight the beginning or end of the clips where you want to add a transition and click “command + D” (Mac) or “control + D” (PC).
To use a different transition, go to the Effects panel and select the Video Transitions menu. Right-click on the transition you want to use and click “Set Selected as Default Transition.”
Now, you can add your selected transition using the steps given above to add a cross dissolve.
5. Use Templates for Easy Editing
Just because you’re not a skilled editor or graphic designer doesn’t mean you can’t create videos with cool effects. By using Premiere Pro templates, you can add editable graphics, animations, and video sequences to your videos with drag-and-drop ease.
You can create your own templates to save and use for later (this is helpful with opening title sequences, credits, intros, etc.) or you can find templates online to drop into your videos.
Your templates are stored in your Essential Graphics panel. To use one, just drag it into your sequence. After that, you can edit it using the Edit tab of the Essential Graphics panel.
Begin Your Premiere Pro Journey
Adobe Premiere Pro allows anyone with a computer to become a pro-level video editor. And it doesn’t take that long to learn the ropes! Just make sure you cover your bases as a beginner using the tips above. Soon, you’ll be fluent in Premiere Pro.