

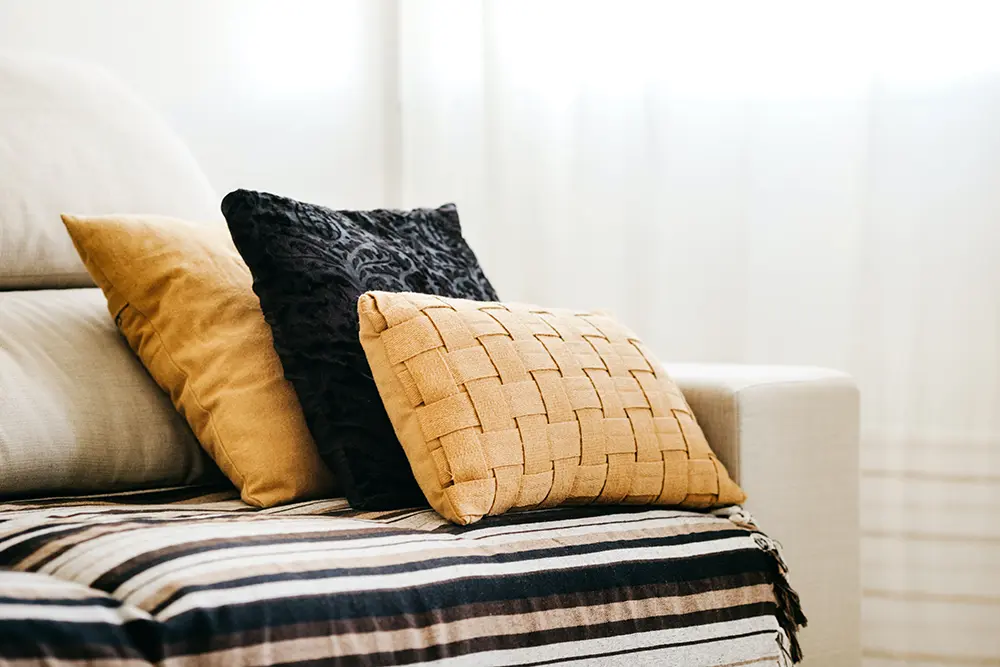
Cushion covers are a cost-effective way to update your living space. They are readily available in stores, but you could easily make one if you have sewing skills and creativity. If you choose to make your cushion cover, you can develop custom designs that allow you to make more style impact.
Find out the steps for creating a cushion cover that looks professionally made, and learn how to protect your cushions at home.
Picking the Ideal Cushion Cover Fabric
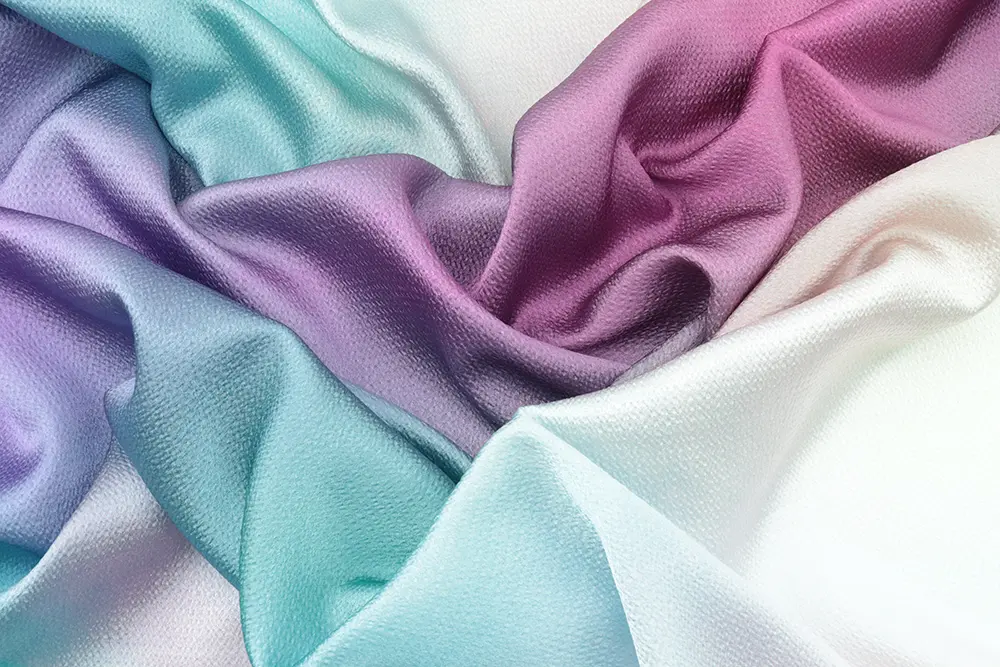
The most critical step in knowing how to make a cushion cover is to choose the right fabric. You can select a material based on the style you want or the intended use of the cushion. For example, if it is a decorative cushion, you don’t need to choose a durable fabric compared to those used in the bedroom or living area.
When choosing the fabric, examine the materials closely. Some materials offer comfort, while others deliver durability. Cotton, linen, denim, and wool are a few of the most common materials for making a cushion cover. You can choose the fabric according to your desired comfort level, style, texture, and durability.
Another consideration is the colour and pattern. This factor is about the style of the cushion cover. Choose the material’s colour and design to match your interior décor and other fixtures in the room. As well as the cushion cover, you will also need a filling to complete the cushion.
You should also think about the care instructions before choosing a fabric. Some fabric types require delicate care and maintenance. Therefore, before investing in one, you must understand how to care for the fabric properly.
Preparing the Fabric
The next step is to measure and cut the fabric to make the cushion cover. Make sure to cut the material to its appropriate size. But first, you must know the cushion cover’s ideal size and proportion. Next, measure the cushion insert and add one inch to your measurement for the seam allowance.
For example, if your cushion cover measurement is 18 x 18 inches, cut the fabric pieces into a 19 x 19 size. Check different cushions cover sizes here.
To cut your fabric correctly, lay it down on a flat surface. Measure and mark the fabric according to your desired dimensions with a pen or chalk.
Cut the fabric out, ensuring you cut it along the marked lines.
Sewing the Cushion Cover
The final step in making the cushion cover is to sew the fabric together. To do this, bring two sides of the fabric together. Make sure the edges are aligned. Pin the edges while leaving enough seam allowance. Sew the sides of the cushion cover using a straight stitch method. Keep one side open so you have enough space to insert the cushion.

Trim any excess on the sides of the cushion cover. Make sure to avoid cutting the stitched part. Turn the cushion right side out and press on the seams with an iron. Insert the cushion inside the cover and sew it close using a slip stitch.
Finishing Touches for the Cushion Cover
You can use various methods to finish the cushion cover. You can add buttons to your cushion cover. For this, you need to create buttonholes on one side. It will make it easier to remove the cushion when you have to wash the cover.
Using a zipper is one of the most common finishing touches for a cushion cover. Sew the zipper on one side and the other half to the opposing side.
Finally, you can also use the piping method for the cushion cover. It is the most decorative technique and makes your cushion cover look professionally done.