

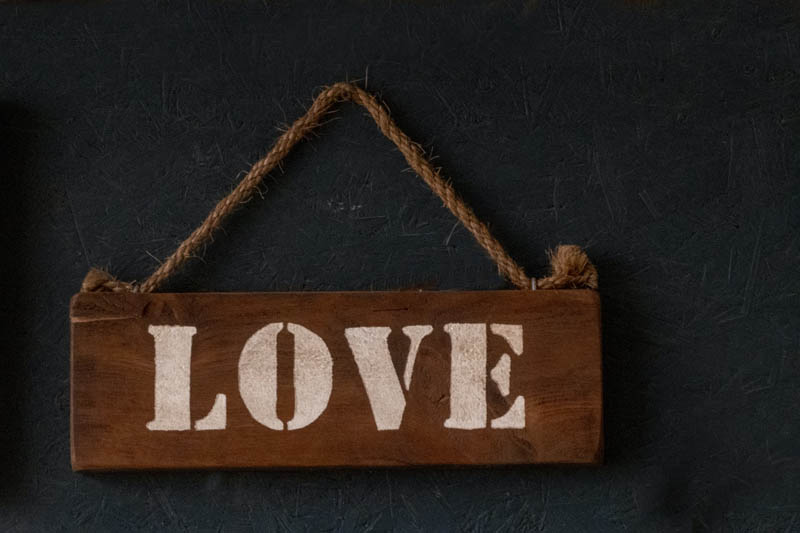
This article will teach you how to make a wood sign with a router.
It’s easy, but it does take some skills. So if you’re not already comfortable using a router, this might be too advanced for you to tackle on your own.
But if you want to learn and have even the slightest bit of skill with tools in general then read on!
The first thing that we’ll look at is what materials are needed. Keep in mind that there may be other things that need to be added depending on your design, so don’t feel like everything here is necessary for every project. And also know that these materials can get pretty expensive, so if you’re on a budget you might have to be creative and find alternatives.
Gathering the Essentials
Before we dive into the work, you need to make sure that you have the right tools and equipment to complete the job. Here are the tools we need to get the job done-
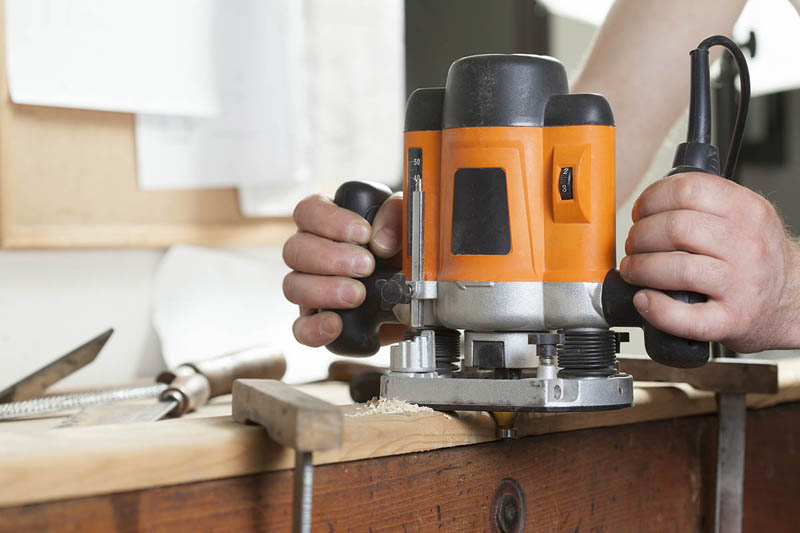
- Wood router
- Clamps
- Saw
- Wood Glue
- Paper for Mockup and Marking
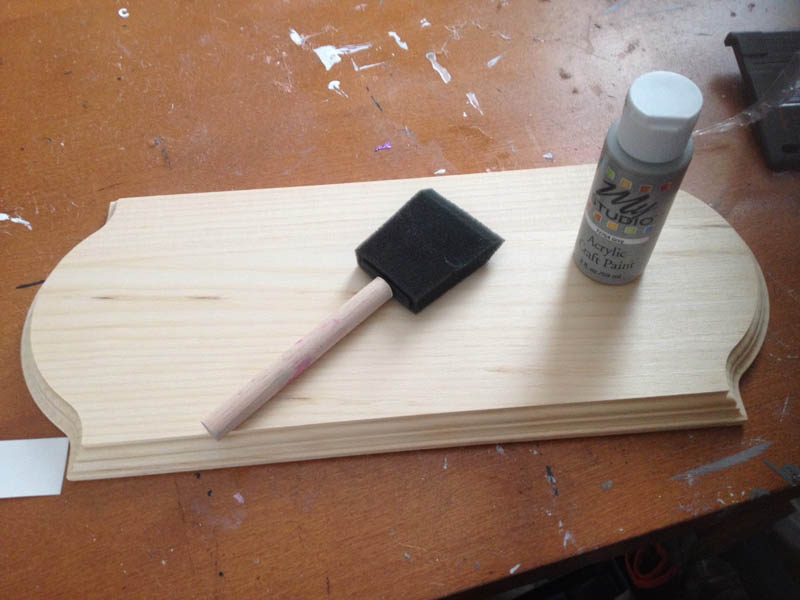
- Paint
Making the Sign Board
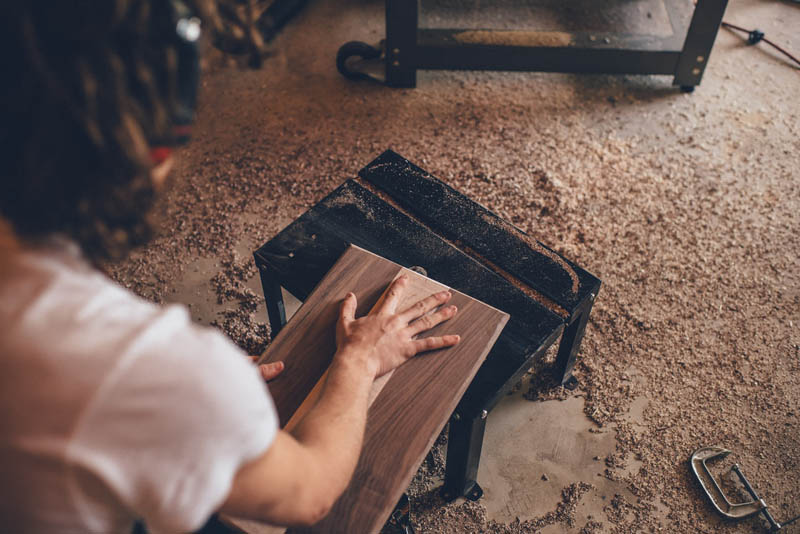
You’ll want to make the signboard first by gluing wood boards together with clamps. You’ll need all same type of wood for consistency. For achieving this, you may need to use a wood jointer.
Some people prefer inconsistent boards for their sign, if you are one of those, I’m telling you it’ll be difficult for you to make the sign perfectly. You’ll also need a drill for screwing in the boards with screws, and an adhesive to seal all the edges.
Once you have your signboard constructed you should let it stabilize for a day as the glue takes time to cure.
In the meantime, you might want to sketch out what you want your final product to look like before doing any routing work. If you’re not experienced with using a sign-making wood router then practicing your design on paper before starting will help because this is where things can get tricky.
Marking the Boundary
After a day of the curation process, you should mark the outer part to get rid of the unwanted wooden areas. This will leave you with a nice surface to work with. To do that you will need a measurement tool to correctly measure the boundaries and a saw. A table saw is preferable but you can achieve the same with a hand saw as well, it will just take a bit of extra time and effort from you.
Now at this point, I highly recommend that you take things slowly and carefully because a wrong move can require you to make a whole new board for the project.
Laser Works if Needed
In this step, you may want to have some laser-fired design on the signboard. Some people prefer plainly written signs where some look for a way to add their logo.
To add a complicated logo, you’ll need to get the help of a laser fire machine that can easily burn the logo into your wood.
The same applies to other complicated designs and patterns that can be difficult with a router alone.

Adding the Letters
After all the works are done, use a marking pen to perfectly write down the letters on the board. This step is crucial for accurately doing the job.
I recommend using measurement tools to achieve perfection. After you write down the letters perfectly on the board, start adding the letters with the help of the router.
Use the router in a patterned way. If your sign is words, then write out those words one letter at a time. Concentrate on the specific letter, rather than on the whole board for accuracy.
Paint and Finish
After the routing work is done, you should now have a nice sign board that you can paint and finish. Any paint will do but make sure that it is porous paint so as not to block the letters/logo from being seen. You should go over the sign after each coat of paint to ensure that there are no streaks or damage making your work more tedious than necessary.
Finally, once everything is dry and your sign is no longer sticky you can now mount it on your yard, outside of your home or however close you intend to put it. Everyone will be able to see how much effort and care you put into this project.
Conclusion
The work of making a wood sign with the help of a router can be difficult, but it is not impossible. With careful consideration and execution, you should have no problem successfully creating your own signage for display in front of your home or business.
After carefully measuring out the necessary boundaries on your board (and taking care to maintain accuracy), you will then need to carefully mark these edges so that they are visible after routing has been completed.
The next step is applying paint and finishing touches to make sure that all corners are covered thoroughly before mounting it onto its final place–either outside near your porch or inside one room in order to show off what you’ve accomplished!