

Yes, it’s true, epoxy countertops are yesterday’s news. They had their time and place, but the disadvantages totally outweigh the advantages.
It is true that there are good points to using epoxy: it creates a protective surface around your counter material, preventing nicks, dings, and scratches; it can be a fun process if you’re able to jump the hurdle that is its most complicated nature; you can also add new luster to dull surfaces with epoxy.
However, the problems that arise with its use are major hurdles to clear.
If you’re thinking about adding epoxy to your countertops, stay tuned. Here are some reasons why using epoxy is a horrible idea. For a more thorough explanation, learn more at Caesarstone.
It’s complicated
Ok, so you’re ready to add epoxy to a surface in your home, but where do you begin? How much do you have to use? How much should you buy? Do you need to buy anything else for the epoxying process?
So many questions, so very complicated.
And yes, once you do get to the home improvement store to buy some epoxy, it does have instructions for its use on the container. But some of the measuring tables and charts on said container might as well be in a foreign language. You’re not even sure exactly how big your surface at home is, and you’re unsure about exactly how to measure that surface.
Uh oh, your first jam-up, and you haven’t even purchased the epoxy yet.
There’s also the question about what kinds of extra tools and products you need for the epoxy job. Better figure that one out as well, and — you know what — that’s already an extra cost that you really don’t need.
It’s true, you need to buy some extra tools to work with epoxy. You’ll of course need the epoxy itself, epoxy hardener — which is sold separately, a large cup or a bucket to mix your epoxy in, some kind of stirring device, and also some kind of tool to help smooth the epoxy over the surface.
Sounds complicated, right?
Well, it is — no doubt about that.
The epoxying process
Ok, so, you’ve finally got everything you need to epoxy your surface. Now it’s time to actually do it, and you’re a little bit scared.
Well, you have every reason to be. It’s a very involved process, and the only fun part about the process is pouring the epoxy onto the surface. It’s the steps before and after the pouring that are the stressful parts.
Step 1: The stirring
The first thing you must do is mix the epoxy and the epoxy hardener together inside a container. This takes non-stop stirring for up to 10 minutes. That’s a lot of stirring. This, of course, puts a strain on your arms, and they will get very tired very quickly: the epoxy at this stage is very thick and hard to stir.
Also, you must remain vigilantly stirring, or your epoxy will harden even before you have time to pour it. Then there is the question of making sure you even have enough epoxy for your surface. God forbid you have to stir up another batch — and even more quickly than the first batch, due to hardening.
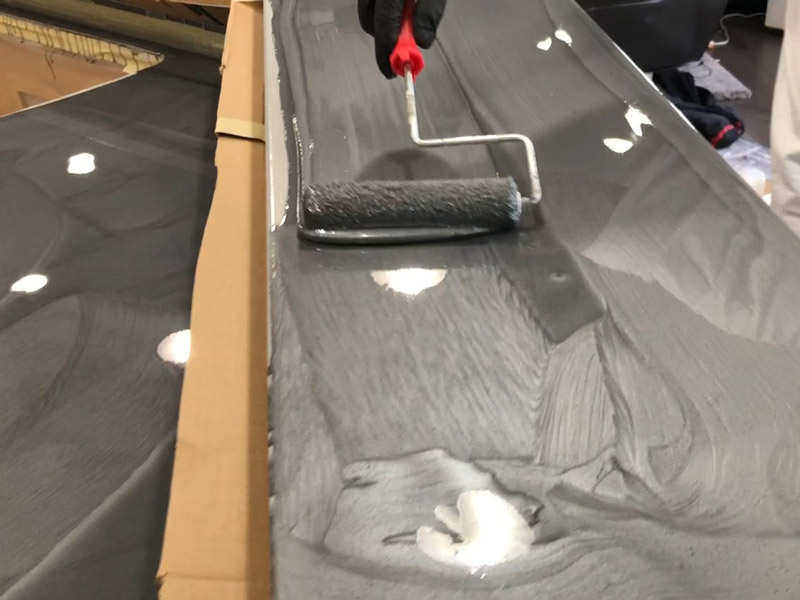
Step 2: The pouring
This step is self-explanatory and, as stated above, is the most fun part of the whole epoxying process. This is good because you’ll need some stress relief to break up the rest of your project.
You pour the epoxy over the entire surface, making sure to pour evenly all around. What’s not fun, however, is if you have to mix more, due to not having enough. This really gums everything up, because the epoxy that has already been poured will harden very quickly. That means you have very little wiggle room to get everything just right.
Step 3: The shaping
After you pour your epoxy, you’ll have to go behind yourself with a flat tool, making sure it’s all as even as possible. Look for air bubbles within the epoxy, because you don’t want those. If you come across air bubbles, you’ll have to get them out very quickly using a heat source, such as a powerful hairdryer.
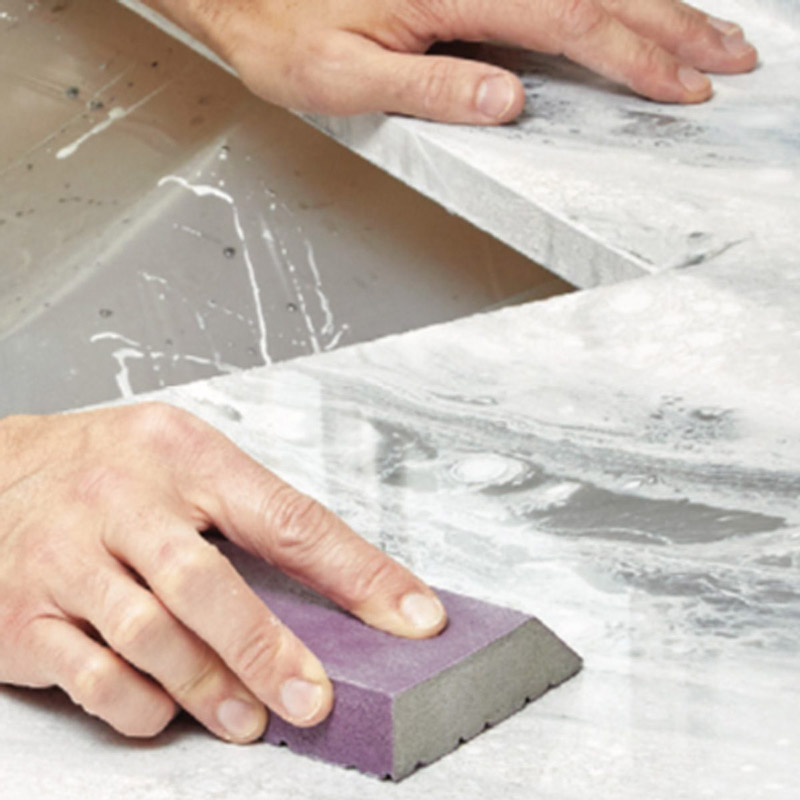
The hairdryer heats up the bubbles, which allows them to rise up to the surface and pop. You have to move quickly with this step, because your epoxy will harden extremely quickly, in as little as 20 minutes.
Step 3 might be the most stressful of the steps. You must be diligent in your shaping of the epoxy, or else all of your efforts would be for nothing. You’ll notice the flaws in it every day and, more and more, you’ll start filling with regret.
You’ll start thinking, “I never should have done this epoxy job.”
The finished product
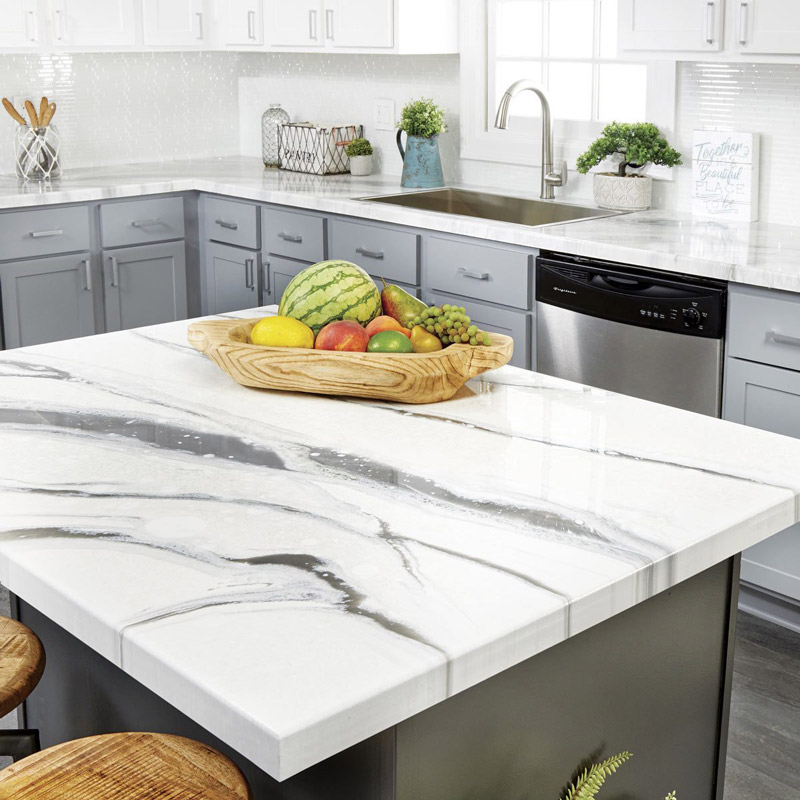
Now that you’ve mixed and poured and shaped your epoxy — if you’ve done everything correctly — your surface will have a brand new layer of epoxy, which will luster up a worn-down counter. There will be a protective layer there that will help preserve whatever surface it is…
But was it worth it?
All that stress?
In conclusion
Hopefully, by now you’ve seen what a terrible and soul-sucking idea it is to use epoxy on any of your surfaces.
Yes, it’s true, if it is done correctly, epoxy can make old surfaces look a little better. It can extend that old counter’s life a little bit more, but at what cost? It could very well, indeed, destroy your sanity along the way. It could lead to the ruining of that countertop you love so much.
It should be very plain to see that using epoxy is a terrible idea, for so many different reasons. So, please, for the sake of your family, your sanity, your stirring muscles, it would be best to stay away from epoxy.
There’s just too much that could go wrong, and it’s just not worth it.