

Wood is a style and decor material. Wooden furniture plays the role of our companion in our day-to-day lives making it comfortable and easy for us. Wooden furniture has been serving us far before the industrial revolution. Many other elements such as steel, aluminum, glass, and plastic have come to the market later after the industrial revolution. But traditionally wooden furniture has been a staple material and will be in future manufacturing.
Having a piece of wooden furniture in your living or bedroom is undeniable. Not only is wood durable but it has other benefits too. But sometimes things can go a little rough and you might end up with a piece of damaged wooden furniture. Cracks and gouges can show up on your valuable comfort zone.
Maybe your furniture is aged and excessively used and like any other object it started to show decay or maybe you picked up some used furniture from garage sales with gouges on them. In either case, by adapting to some restoration measures you can solve your issue and make them as good as new.
Repairing your wooden chairs, tables, sofas, credenza, and the bed is not as hard as you think. You may spend $100 on repairment then follow these steps and you will surely be repairing your wooden furniture like a pro.
Refinishing Wood Like A Pro
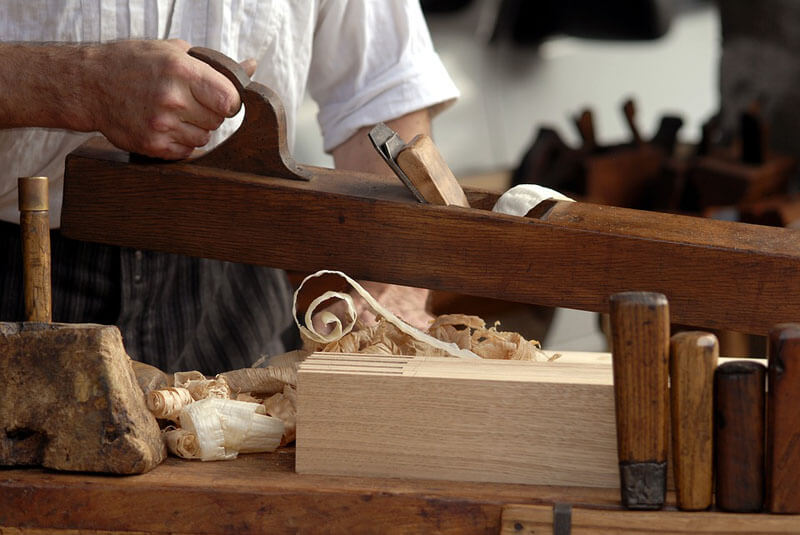
You might think that you have all the tools and ingredients for the purposes and refilling wood is an easy task. Just apply, smooth, and dry. But when you are building the whole form of repairing the surface of wooden furniture experts suggest some tips to enhance the staining process. Keep in mind to sand the wooden surface. It will make the surface smooth enough to apply stain and coating. You should sand in the same direction as the wood grain.
Begin with a coarse-coarseness, and finish with a fine-coarseness for better outcomes. A pleasant smooth wood surface will promptly acknowledge your stain and it will shade it evenly. Use a cloth to apply the stain and buff thoroughly towards the end for a more durable and alluring finishing touch!
Repair Minor Cracks & Gouges
Are the undesirable holes of your wooden furniture holding you back from making your living room look like your dream paradise? Then quickly fill those cracks to the level of the surface. Wood-tone putty sticks come in real handy in refilling the surface. If the exact color can’t be found, then different colors can be mixed. Use your finger to smooth the surface while applying putty sticks. Wait a week or two in order to refinish it.
Repair Deep Holes
For deep holes, the trick is to refill the empty space with wood. Using glue should be a secondary idea here as using wood will make the stain look natural. Pop a caramel apple stick or a toothpick right in till you do a flush finish. Water putty fillers also work wonders in this case. Water and oil stain can be used to tint the colors. If the filler colors do not match the furniture it will be conspicuous. So, give a dry run on a dim surface to make sure the color is right.
Fix Watermarks
Watermarks can sometimes be troublesome. It might ruin your hard work of repainting or refinishing. The boot of spray shellac can solve the problem in this case. This will coat the mark and you can sleep in peace!
Staining Ingredients
Using Wood Fillers
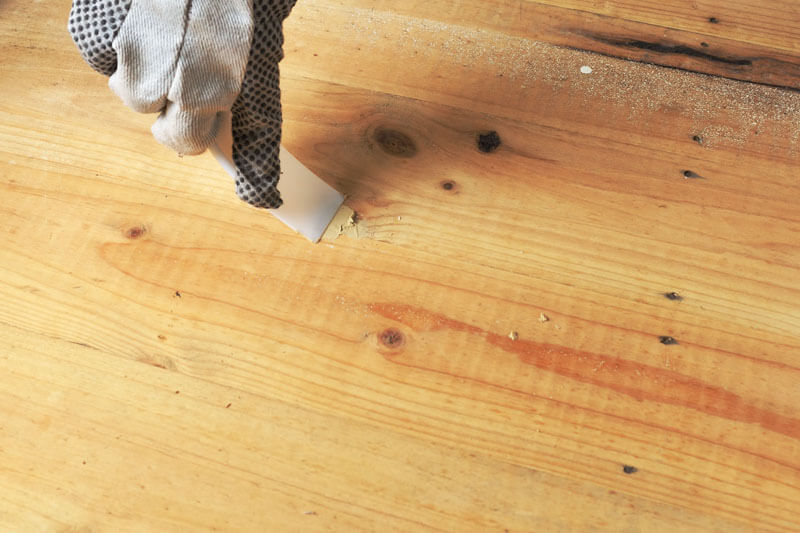
Gouges, cracks, and holes may require filling. While using wood fillers, remember to clean the crack or gouge before applying the filler. This can be done by using the tip of a craft knife. After the filler dries up it slightly shrinks. Press the wood filler tightly for better results and keep a bit mounded over the wood surface.
Wood fillers do not take much time to dry up. Just be on the safe side and let it dry for two days, then use sandpaper to smoothen and sand off bumps in the area. Steel wool can be used to buff the surface. If it still seems unfinished then feather the edges to blend it all in. Apply more finish and blend it with paintbrushes or feathers. Do it until it matches the surface level. Keep it for hardening and polish it adequately. Do not keep any residue sticking. If needed, you can embed a layer of polyurethane to seal and protect the area. Doing that, and it will be all set.
Polishes that blend
The blessings of the industrial outburst have gifted the market with products that are made to polish wood furniture. These can be used to blend surface bumps, and they also come in different shades. There are several shades most common to shades of wood. Pick the shade which goes with your piece. Spots and minor scratches are eradicated with the tinted polish. The thorough use of polish will result in a good piece of new furniture.
Once the cracks are all bumped off and the surface is concealed properly, polishes come in the scene. To store the glow the surface must be polished regularly.
There is also a homemade version available, where you need to mix 2 tablespoons ammonia in a ¼ cup of warm water. This polish also refinishes the countertop adequately.
Shellac Sticks & Bondo
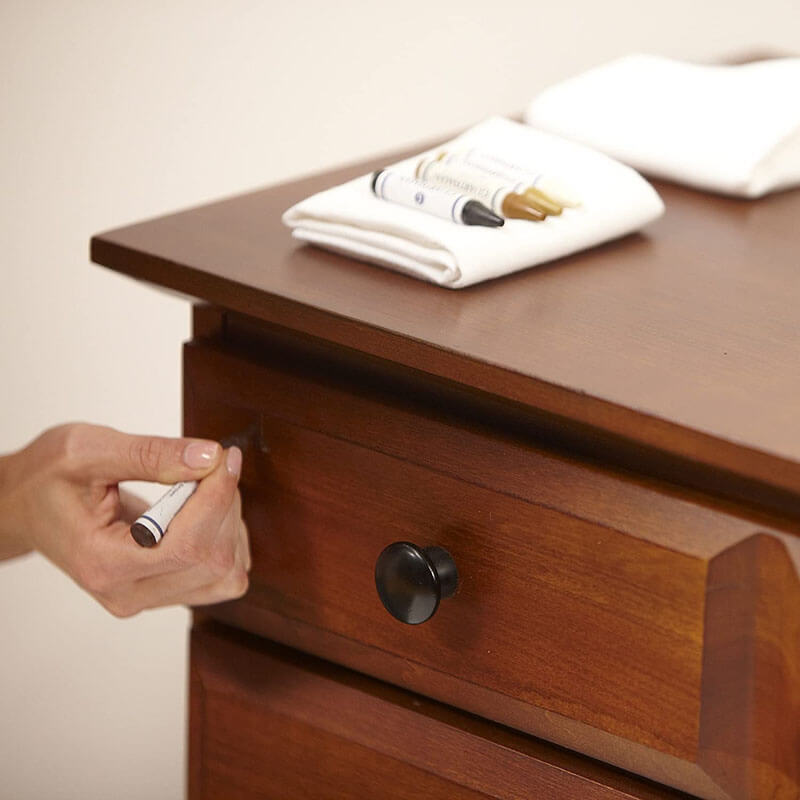
Another way to fix the furniture surfaces professionally is by using shellac sticks on cracks and gouges,resulting in stains and patches less conspicuous. You will also not have any face trouble for availability of colors. Test the color on scrap wood before applying it on a piece of furniture. Shellac sticks will give you fruitful results on finished wood.
Hold a shellac stick on a heat source over the blade for better usage. Keep heating it until it molds to about the consistency of coating compound or clay. After that, apply the softened shellac to fill the gouges and level it to the surface with the hot blade. Ensure the mushy shellac compounds are broken entirely. The stain dries and solidifies fast, so you have to do the steps with moderate speed. The pitch can be left marginally high so that the heated putty knife blade can level things up while being used.
Keep it like that for one to two hours. When it dries completely, use sandpaper to plane the surface. To get a glossy silk sparkle finish, anoint the surface with No. 0000 steel wool and linseed oil. Voilà your furniture will shine as good as new!
Also, if the piece of furniture is older and its look is highly noticeable then you can always apply Bondo on it. It is an alternative to wood fillers. Apply your Bondo to fill up indention. Use a grit of fine sandpaper to smooth and level.
Crayons
Using wood colored crayons is a fast way to cover scratches. If you have guests coming and left with no time grab a crayon that matches the surface color of the furniture. Melt it and then rub it on the surface with a brush. You can melt several colors and mix them to match the shade.
Natural Ingredients
Coconut Oil
Nature has always a solution to every problem. So, before going to the store to buy man-made artificial elements you can give a try on coconut oil. It would be a healthier restoration process as well as it will cost you less. Anointing coconut oil will give your wood a natural pigment. To apply the oil, use a lint-free cloth. Apply at least three coatings and let it dry for a while. This natural wood DIY process happens to rehydrate the wood, as the wood soaks the oil into it leaving a soft natural glow.
Vinegar
You want your wood stain to appear darker? Then vinegar is the element you are looking for. Any sort of vinegar such as apple cider or balsamic vinegar will work. Your focus should be on the color ballad. Apply the vinegar with a fine soft brush depending on your selected color. The power of this secret ingredient takes your surface repairing to the next level!
Mixed Recipe
You can use the mixture of both oil and vinegar to repair a fairly damaged furniture surface. The process involves mixing ¾ cup of oil (canola oil is perfect) and ¼ cup of vinegar (white or apple cider) properly. Then apply the mixture on the decayed areas and you will be seeing results in no time! Rubbing the meat of a walnut or brazil nut to repair scuffs is also an efficient idea.
With natural processes always remember to test solutions on the inconspicuous wooden surfaces before applying it to the whole body. This makes the cleansing and repairing process easier. Make sure to keep both the commercially produced and homemade solutions in labeled pots. Do not forget to keep these away from children.
Your wooden furniture increases the beauty of your home. But sometimes these prized pieces may fall under decoy. Restoring wooden furniture can be done by just following the proper instructions. The above-mentioned steps will help you with fast restoration and it’s also free of charge!