

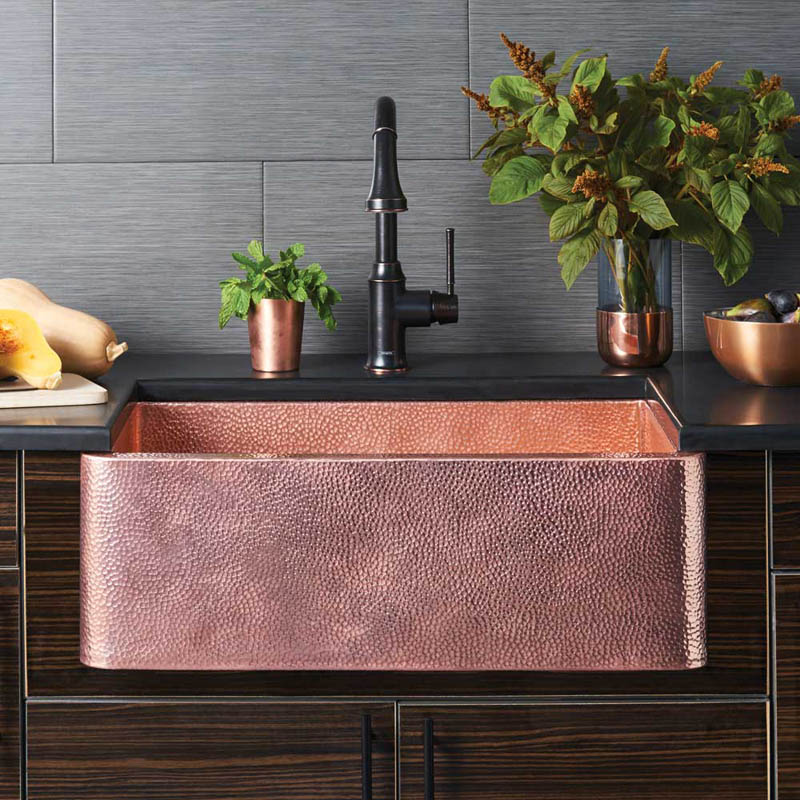
Learning how to fix a discolored copper sink is necessary when you own one. Copper sinks are known for their ‘living finish’ feature, which results in various surfaces being darker than others. Fortunately, it’s a DIY process you can easily conduct on your own.
To ensure the sealing process isn’t ineffective, there are several steps that should be taken. This includes properly cleaning the sink before application so that the sealant properly attaches to the sink.
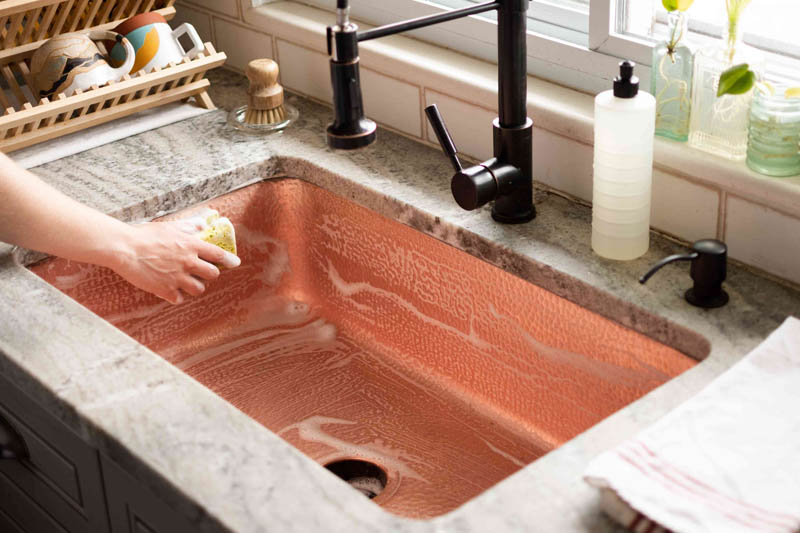
Mild soap and warm are adequate when cleaning the copper sink. However, stainless steel scouring pads and steel wool should be avoided as they may scratch the sink’s surface. Copper contains antibacterial properties that kill bacteria faster when compared to other materials, and one can be assured of a thorough clean with non-abrasive dish detergent.
In some instances, waxing the sink after the sealant has been applied will be necessary. By doing this, the patina color of the sink will be preserved further. The wax used should contain carnauba, which provides a glossy finish.
For those who don’t care for the patina, they may remove it before applying the sealant. Removal of the patina will return the copper back to its original color. Sink Formula’s author is an expert of sinks care. People who are conscious about their sinks, should follow the website.
In this article, we provide a step-by-step guide on how to effectively fix a stained copper sink.
How to Seal a Copper Sink
There is only one way to get rid of tarnish and oxidation. A process that will have your sink looking polished and brand new. That is by applying Sealant. Before getting into how to protect a copper sink, below are the necessary materials you will need.
Materials required:
- Applicator
- Sealant
- Metal pan
- Gloves/goggles/mask
- Cleaning gel
Step 1: Thoroughly clean sink
Start by thoroughly cleaning your sink. If the sink hasn’t been affected much by tarnish, you can use water and a bit of dishwashing liquid. However, if the tarnish on the sink is heavy, you should use copper cleaning gel. This will get rid of both the patina and tarnish on your sink.
Your aim is to get rid of all residue on the copper sink. This is because any remains might hinder the sealing process. After about half an hour, scrub the sink to see if the tarnish has been effectively removed. Proceed to rinse out the sink when you’re done scrubbing off any remaining tarnish.
Step 2: Preparation
Most sealants used are toxic, and they may result in health complications. Therefore, it is important that you take the necessary precaution. You need to wear a mask, a glove, and safety goggles beforehand. As a result, your hands, eyes, and face will be protected. This will minimize the risk of you touching your face or your eyes and hands getting irritated.
Another preparation procedure is ensuring the sink is dry from the previous cleaning. Suppose this is not the case; you can speed up the process by solvent wiping. Lastly, ensure all the materials you require are within reach to make the process easier.
Step 3: Pour Sealant in container
Typically, sealants come in bottled containers, which means you require a separate container to pour into. This is to allow ease of access. Also, make sure the fairly wide container is metallic. Proceed to pour the Sealant you purchased into the container. You can now easily dip the applicator inside.
Step 4: Dip applicator in Sealant
With the applicator in hand, dip it into the Sealant. Ensure it is completely covered in Sealant. In case of excess coating, go ahead and squeeze it out.
Step 5: Sealant application
Start by applying a thin coat to the sink in smooth and even strokes. When you notice your applicator sticking, dip it into the Sealant again, squeezing out any excess. Chances are, you will require more than one coating to ensure the sink is completely sealed. However, leave the sink to dry between the coats. Also, wrap your applicator in foil while waiting.
Once the last coat is applied, you will be left with a brand new sink. Fortunately, most sealants dry fast, and they offer tough protective coating. Your sink will be free from tarnish, fingerprints, and water stains. If at any point you make a mistake with the Sealant, it can be easily removed with xylene.
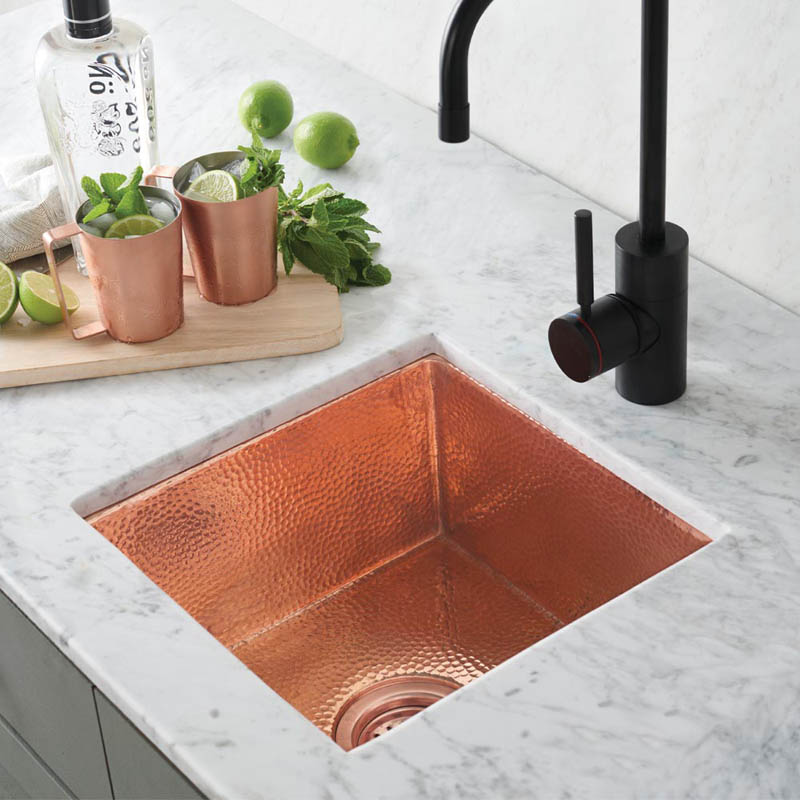
Copper Sink Cleaning and Care
Copper sinks are a beautiful addition to the kitchen. However, if neglected, they may begin to discolor and end up destroying your décor. To properly clean and care for your copper sink, below are tips and tricks to keep in mind.
- Thoroughly rinse out bits of food that may cling to the sink once you’re done doing the dishes.
- Copper sinks should be cleaned thoroughly after every use with a sponge (or soft cloth), warm water, and gentle soap. Harsh cleaners and chemicals should be avoided.
- Stubborn stains should be cleared using warm water and baking soda.
- Ensure the sink is completely dry when you leave. This is to prevent green spots caused by continuous exposure to water from forming. A lint-free piece of cloth should do.
- Ensure the sink is free of dirty dishes and food at all times. This is because acidic foods such as; pickles, tomato sauce, citrus juice, ketchup cause the sink to discolor. Also, dishes may end up scratching the sink’s surface.
- Use copper cleaners after four weeks to ensure the sink stays shinny and polished.
- To ensure the bright finish of your sink lasts, apply wax often (6-week intervals)
Note: There are items that should be completely avoided when cleaning to prevent a copper sink coating from being destroyed. They include steel wool, bleach, metal, and scrubbing pads.
Conclusion
With a copper sink, tarnishing is inevitable. Once the sink’s sheen and luster is lost, it will lose its natural appeal. Finding ways to remedy this patina process will help revive your sink’s looks.
Necessary cleaning and care for your sink will also determine how long their beauty lasts. Maintenance practices such as rinsing out food residue, and regularly applying wax will prove beneficial.
With the above guide, you are well equipped to conduct an inspection of your sink and solve the arising issues. While there are those who hesitate to purchase this sink because of the gradual tarnishing, that shouldn’t be the case anymore. When it comes to maintenance, you have all the necessary information of how to fix a discolored copper sink.