

A backyard shed is not just a practical addition that provides storage space. Building a timber outbuilding from 10×12 shed plans and blueprints will provide an exciting DIY project. A garden shed also adds to the beauty of your landscape and gives you an incentive to spend more time outdoors.
It is best to work on your shed during the summer months as this will make it easy to paint the shed. If you have to do construction during the winter months, then leave the building unpainted and wait till the climate gets warmer.
Before you start building, you should check with your local building council about relevant regulations. You may need a permit in some areas, and there may be restrictions on how far the shed can be from your property line or from your home.
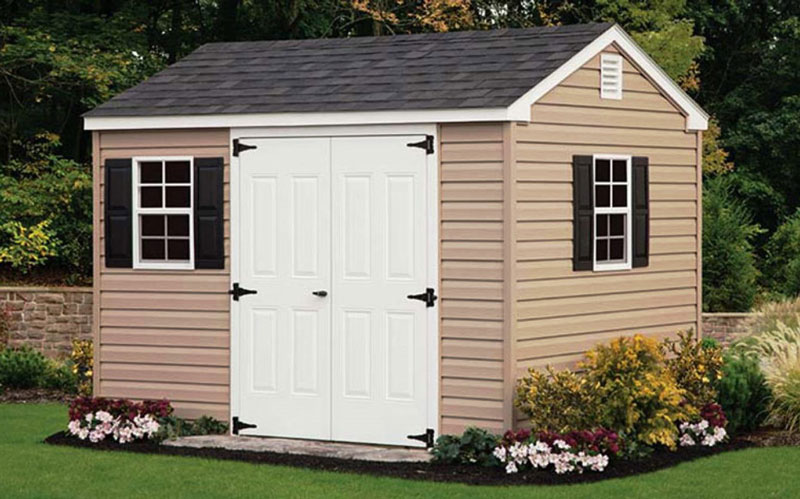
Here are the steps to construct your own 10×12 gable wooden shed step by step.
Assemble Shed Base
Check for underground utility lines before you start work on the foundation. Begin by clearing out all rocks, twigs, and other obstructions lying on the ground intended for construction.
Dig a six-inch deep trench about one foot wider than the shed dimensions. Fill the trench with fine gravel and level it. Pour concrete mixture and let it cure for a day.
Build the floor framework using pressure-treated lumber. First, lay down the floor joists over the concrete base and ensure they are evenly spaced. Then attach the rim boards. Check that all corners are perfectly at right angles using a speed square. Fasten the joists with wood screws. Attach plywood sheathing to the floor frame with galvanized nails.
Construct Wall Framework
The wall frames are crafted using 2×4 timber boards. First, build the beams and studs according to the dimensions mentioned in the blueprints. Then construct braces and connect them to the boards using wood screws.
Measure both the diagonal lengths of each wall frame to ensure it is framed correctly. Also, verify that the corners are perfectly square.
Nail together two 2×4 timber boards to create the top and bottom plates for the wall frame. Hoist each wall frame into place with the help of a friend. Nail the bottom plate of each frame to the floor framework using galvanized nails.
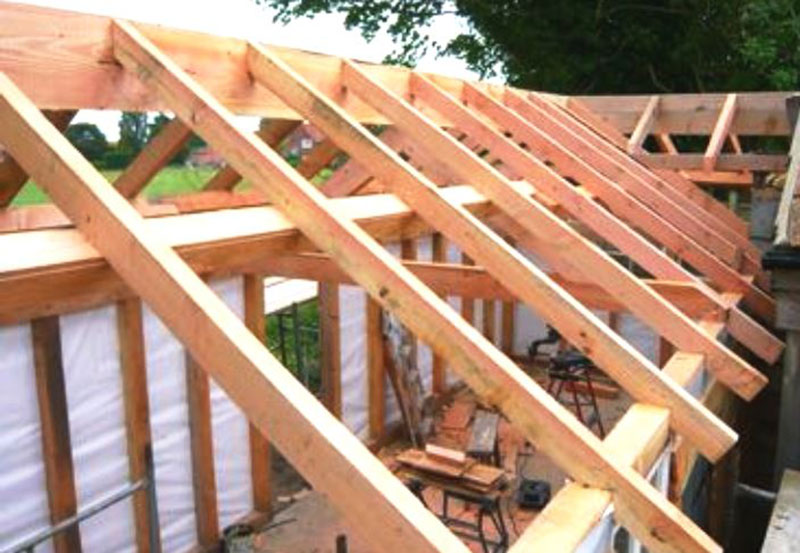
Build Roof Frame
Create a rafter as shown in the blueprints and then use this as the template to create others. Cut the birdsmouth in each rafter at about six inches from the lower end. This will be used for splicing it into the top wall plate.
Create the ridge board from a single piece of 4×4 lumber as shown in your plans. Craft collar ties and gable studs using 2×4 lumber. Secure the ridge board with the rafters at 12-inch intervals using wood screws.
Fasten the gable studs and collar ties to the roof frame.
Mount Roofing Components
Hoist the roof framework onto the walls. Then nail the bottom end of rafters with the top wall plates. Drive 3 nails at each rafter end.
Install half-inch thick plywood or OSB sheathing on the roof frame by driving galvanized nails at 6-inch intervals. Craft the roof fascia using one-inch-thick pressure-treated wood and secure it to the frame using wood screws.
Install roofing paper over the sheathing using a stapler, and then attach asphalt shingles. Secure a drip edge along the roof fascia boards. This will keep water away from the shed walls.
Attach Siding, Trim, And Doors
Cover the wall frame with half-inch thick plywood or OSB siding. Take care to leave gaps for the door and window frames. Secure the siding with 6d galvanized nails.
Create the exterior wall trim using 1×3 pressure-treated timber. Create the door and window headers using 2×4 boards and fasten them with nails.
Hang pre-built doors on 3-inch strap hinges fastened by wood screws. Lastly, install the bolts and pulls for the doors.
Now, caulk all gaps between the framing components and seal any cracks in the lumber. Finish your 10×12 shed construction by painting it with wood preservative, stain, or oil paint. Painting inside the shed will make it easy to clean the interior much faster. Add some wall hooks and storage shelves to fully utilize the space inside your newly completed building.